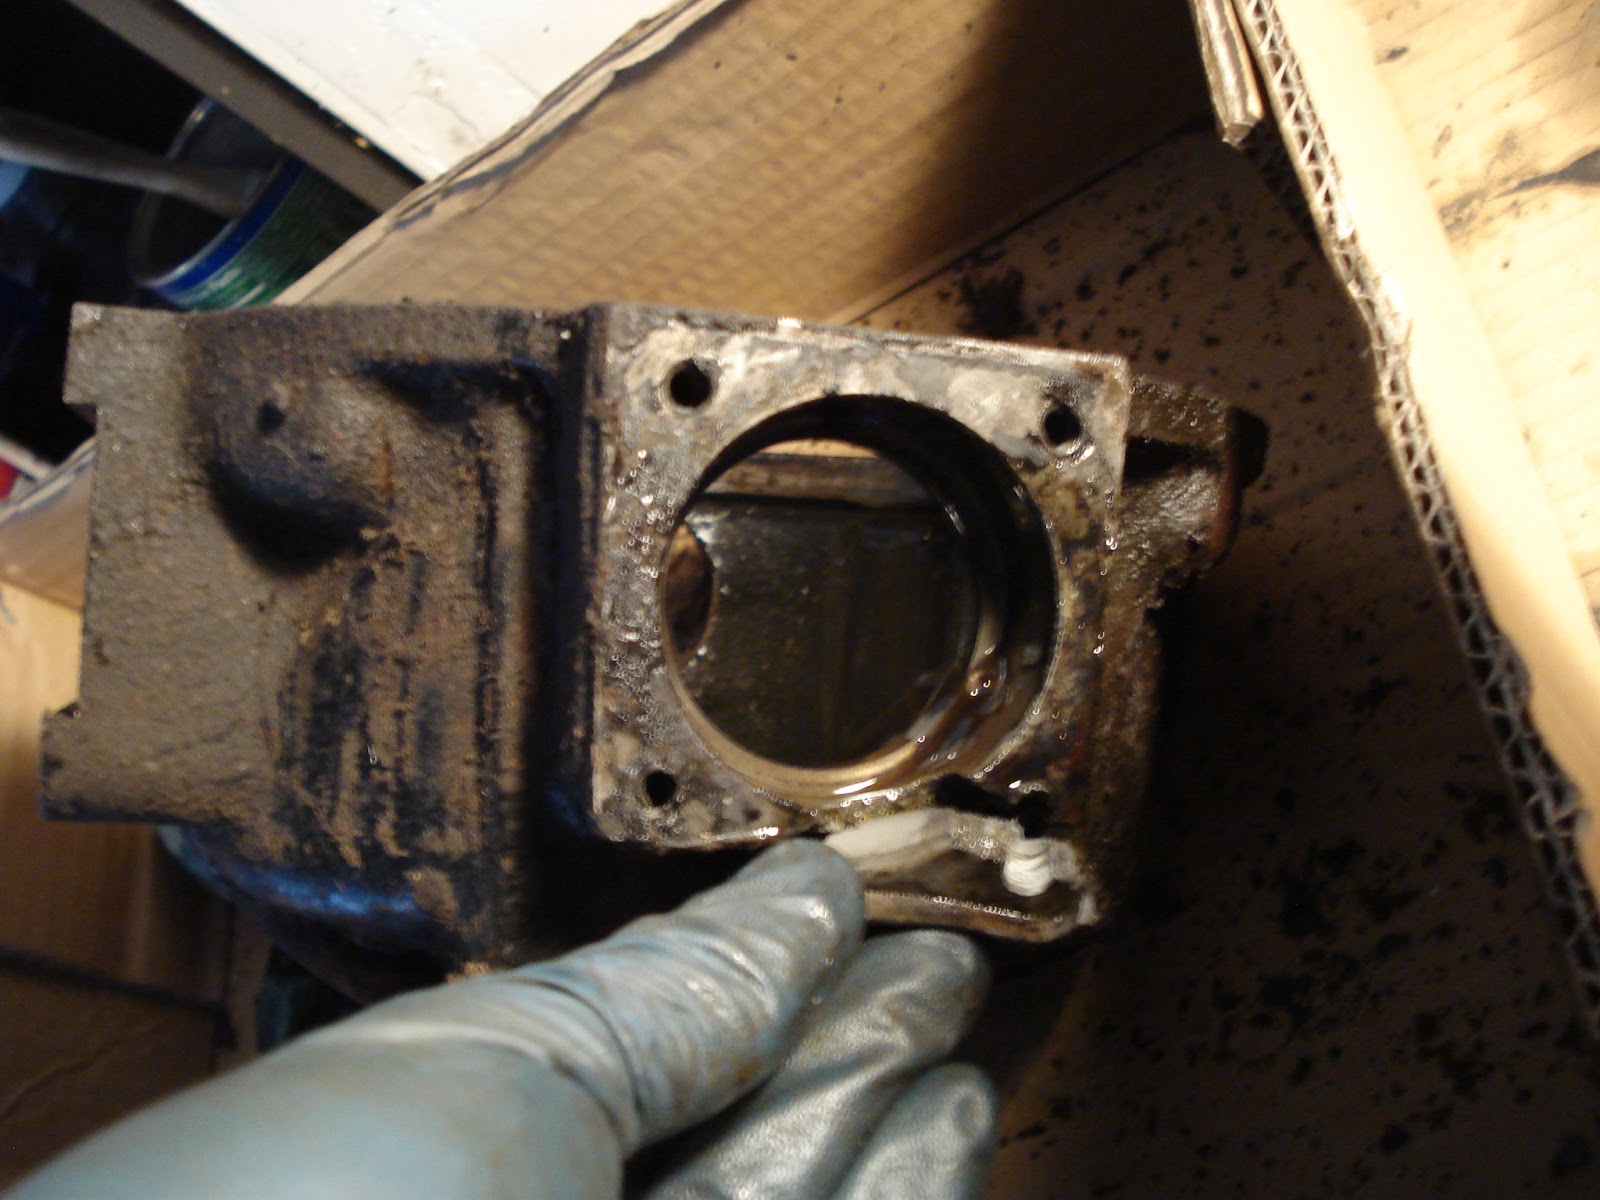
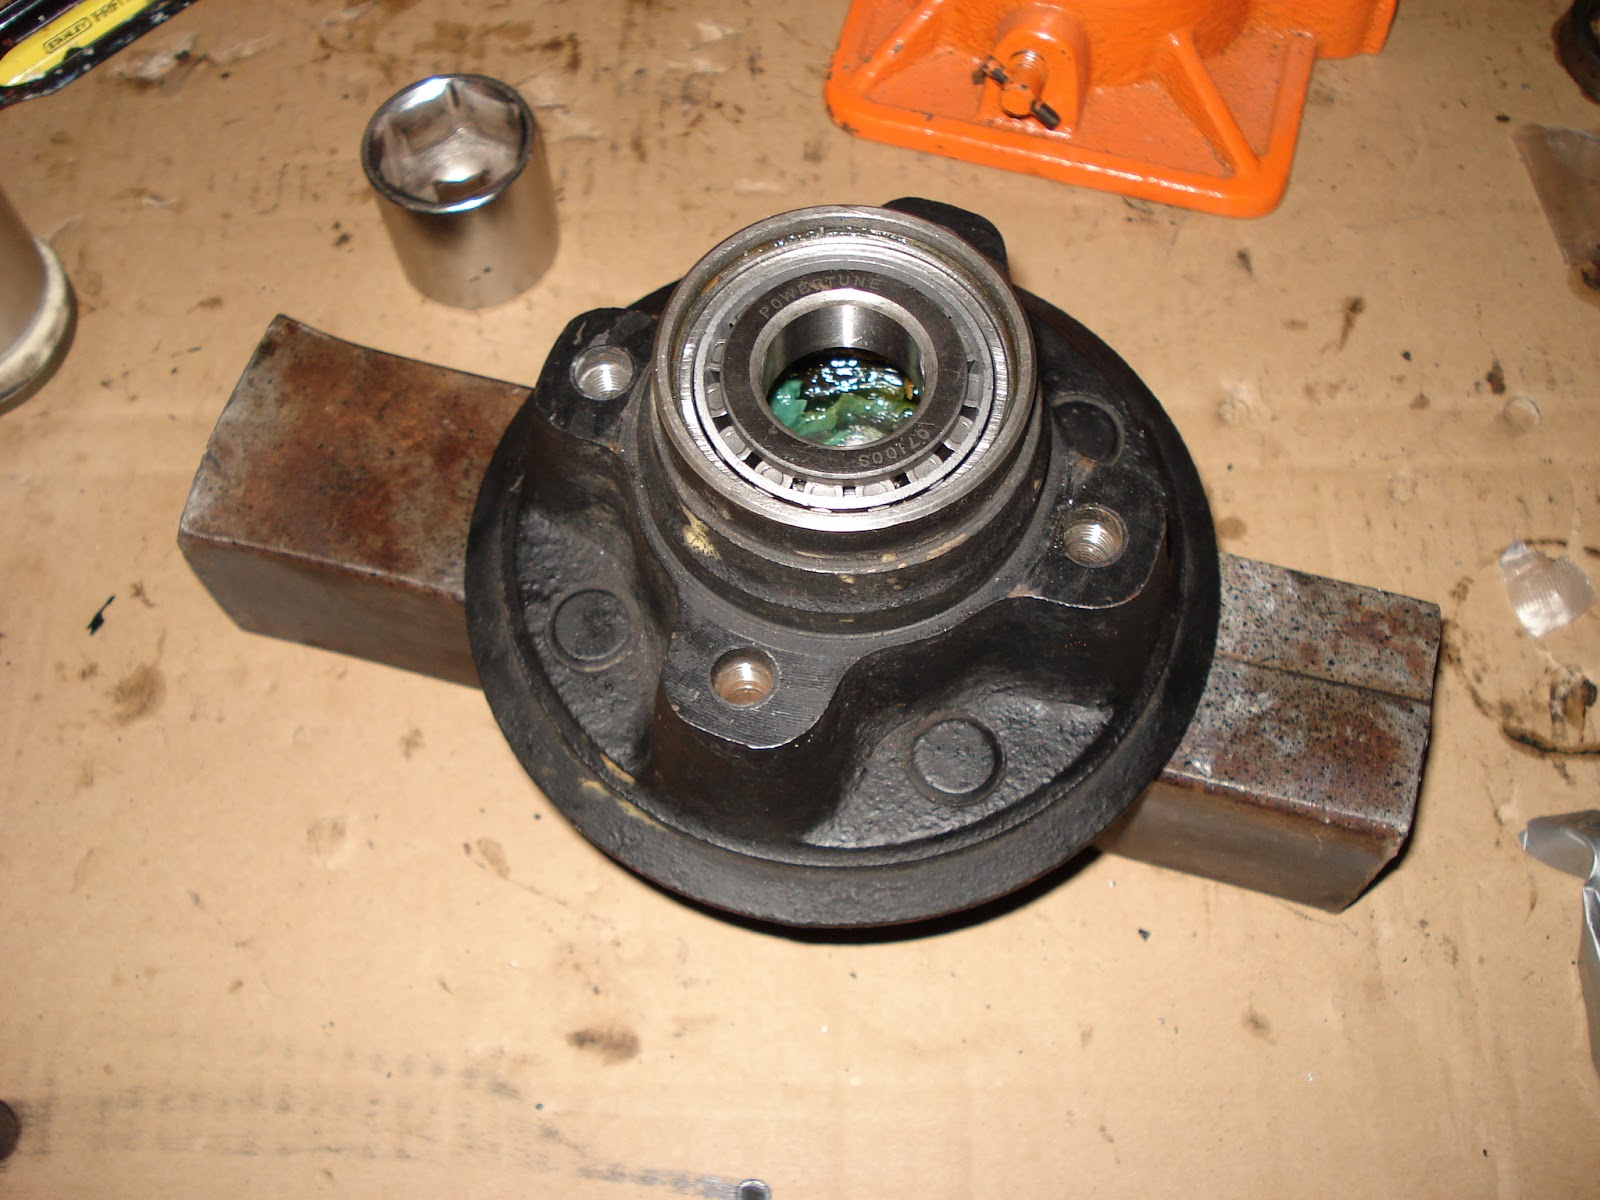
Changed one of the UJ. Easy with the press.
The grease nipple seemed in the way so i cut and sliced a small screw to put in place.
Note to self for the next one, might as well grease it before installing it's way easier !
I will try to keep this blog updated with my progress on my new project : a 1967 triumph spitfire mk3. Hoping this will help others and hoping I will get help as I would like to do things right.
Wednesday, May 29, 2013
Sunday, May 26, 2013
Saturday, May 25, 2013
Spitfire rear spring like new
Should add a before/after picture really...
Cleaned and repainted each leaves and used plastic buttons (from the ebay guy) instead of the rubber ones. Hopefully these will never wear out.
It raised the spring so i am trying to have a cheap spacer built.
Looking good, now on to the rear hubs.
Cleaned and repainted each leaves and used plastic buttons (from the ebay guy) instead of the rubber ones. Hopefully these will never wear out.
It raised the spring so i am trying to have a cheap spacer built.
Looking good, now on to the rear hubs.
Sunday, May 12, 2013
The differential is in !
I have to start with the photo of the spitfire differential landing into position. That felt good !
Trouble started when I opened the diff and noticed a cracked case. A previous owner had rebuilt with some sort of glue...
Luckily the spitfire community is amazing and Steve from Vegas sent me an other case just for the price of shipping ! Thanks Steve !
Although the outside needs a good clean and paint the inside looked ok and was not making any noise so it's just new oil seals and outside bearings. See previous post for the side seals.
For main pinion seal, pretty straight forward. Remove the nut. (Count the number of turns if you have a later differential)
Remove the flange.
And pop the seal out. Now that was the only part that took me a while, nothing could set it loose, so I ended up welding a little stick to it and pulled it with the slide hammer.
New paper gasket, refill with fresh oil and hopefully good for a lifetime !
Tuesday, May 7, 2013
Triumph spitfire differential bushings
That crazy differential has really taken me a lot of time. Of course now I have done I could probably do all of it in a few hours, but when it's the first time...
These bushing are solidly in there and the problem is that the surface is not flat to push and kind of awkward to access. So I had to remove the plastic part, make a cut on it and push it through.
Read about setting it on fire, but much easier if you have one of these round saw things
Nothing a hammer can't fix
Asked for assistance from the chief mechanic
And it comes out
Difficult to push them back in because the really have to be forced in there but they need to go in straight. Trick stolen from wheeler dealers, worked great to get it started aligned.
Finish on the press et voila !
Friday, May 3, 2013
Triumph spitfire differential rear oil seal and bearings replacement
I ordered new side seals for the differential thinking "yeah I'll just slap those on while I am there".
Found bits on the web with how to do, took me a while to figure out. So here is the full job with photos, maybe it'll save you some time.
First step, take out the snap ring.
Then capture the bearing with one of these bearing extractor tool. Could not have done it without it because the gap to catch the bearing is so small there is no way to rig something up.
I prefer to catch at the bearing than from the flange below because I tried from the flange on a spare one and it started bending.
Put it in the press and apply the tons ! Beware, it will take a lot of pressure and come out with a bang.
Push the old seal out with the right size sockets
Press the new seal in
Ready for installing the new bearing. At less than $10 per bearing I prefer to install new ones. These are a very common size. I used 6205RS (thanks Steve for the tip !)
Press them back in.
Tada ! Painted flanges and ready to be mounted.
Found bits on the web with how to do, took me a while to figure out. So here is the full job with photos, maybe it'll save you some time.
First step, take out the snap ring.
Then capture the bearing with one of these bearing extractor tool. Could not have done it without it because the gap to catch the bearing is so small there is no way to rig something up.
I prefer to catch at the bearing than from the flange below because I tried from the flange on a spare one and it started bending.
Put it in the press and apply the tons ! Beware, it will take a lot of pressure and come out with a bang.
Push the old seal out with the right size sockets
Press the new seal in
Ready for installing the new bearing. At less than $10 per bearing I prefer to install new ones. These are a very common size. I used 6205RS (thanks Steve for the tip !)
Tada ! Painted flanges and ready to be mounted.
Saturday, April 6, 2013
Why you should grease the spitfire differential bolt
Needed to take the differential off from the parts car because the casing is broken on the one I have.
After much heavy banging, days of wd 40 and heating that bolt would still not move ! Turn but not move.
In the end had to cut the bolt in the middle, weld a hook to the bolt and pulled it with a hoist with the addition of much much heat.
Lesson learnt, see the bolt is still "welded" to the metal part of the bushes.
After much heavy banging, days of wd 40 and heating that bolt would still not move ! Turn but not move.
In the end had to cut the bolt in the middle, weld a hook to the bolt and pulled it with a hoist with the addition of much much heat.
Lesson learnt, see the bolt is still "welded" to the metal part of the bushes.
Saturday, March 30, 2013
Spitfire battery box replacement
It's one of these jobs once complete you think eh wasn't that bad but it was a pain. The only difficult part is to remove the old battery tray.
See the tool I used, it's important to get a good first punch so the drill doesn't go wandering around, if you need to, drill a small hole. It got easier as I did more holes, you basically have to cut around the spot weld without cutting all the way through.
For the welds at the back I had to make the spot weld drill bit longer using an extension bar from my ratchet box. It was easier this way, maybe because it allowed for a bit a movement correcting for the drill mandrel not being so true.
Here is what it looked like once all spot welds were done. Not pretty. In parts that were still holding together I ended up cutting the battery box and peeling the part that is welded on like you do on a sardine can using a good pair of pliers.
Pushed the 2 reinforcements aside rather than remove the top part. Saves on more cutting / welding and you can have them out of the way without pushing too far.
A bit of hammering to bend the back lip and all around made the new battery box fit right. Held with vise grips during welding to keep as close as possible
Final result, tada. I will never let water accumulate at the bottom of the new tray ! Dont want to do this again...
Finally having the little helper is what really made it easy :-)
See the tool I used, it's important to get a good first punch so the drill doesn't go wandering around, if you need to, drill a small hole. It got easier as I did more holes, you basically have to cut around the spot weld without cutting all the way through.
For the welds at the back I had to make the spot weld drill bit longer using an extension bar from my ratchet box. It was easier this way, maybe because it allowed for a bit a movement correcting for the drill mandrel not being so true.
Here is what it looked like once all spot welds were done. Not pretty. In parts that were still holding together I ended up cutting the battery box and peeling the part that is welded on like you do on a sardine can using a good pair of pliers.
Pushed the 2 reinforcements aside rather than remove the top part. Saves on more cutting / welding and you can have them out of the way without pushing too far.
A bit of hammering to bend the back lip and all around made the new battery box fit right. Held with vise grips during welding to keep as close as possible
Final result, tada. I will never let water accumulate at the bottom of the new tray ! Dont want to do this again...
Finally having the little helper is what really made it easy :-)
Sunday, March 24, 2013
Spitfire steering rack
Probably one of the most messy jobs so far. Fully dismantled the steering rack, cleaned everything and re-greased. There was nothing that looked too tired to need replacing apart from the boots, so I got some new ones.
Cleaning all the old grease just so I could paint was what took the most time.
Clean, paint, the regreased everything.
Finished product looks good as new ! It's a lot harder to turn now but absolutely no play which is great, the spring play reduction system was probably frozen solid by old grease.

Cleaning all the old grease just so I could paint was what took the most time.
There's a pretty smart balljoint system with a spring on both sides that needs removing in order to pull everything out. After that, pull out the gear and the shaft can slide out. When you pull the gear, careful not to loose that little pin ;-) (See previous post)
Clean, paint, the regreased everything.
Finished product looks good as new ! It's a lot harder to turn now but absolutely no play which is great, the spring play reduction system was probably frozen solid by old grease.
Last, you always need little hands to help with this kind of job !

Monday, March 18, 2013
Steering rack pin
Argh so annoyed ! Just spent hours removing the fresh steering rack I had just installed and removing the one from my parts car just because I had forgotten to reinstall (and lost) that one little pin.
See the culprit below, if you ever do a full dismantle of your steering rack remember that little guy ! Photos of the project in a few days.
Sunday, March 3, 2013
Spitfire passenger floor
Finally started installing my homemade passenger foot floor.
Was quite a learning experience to make it and fitting is not easy either ! Lets just say that a lot of swear words were used, hopefully the driver side wont be as rude.
Saturday, January 5, 2013
Spitfire copper brake lines
Finished all the brakes lines that go on the chassis tonight.
Takes a while, especially when you realize you forgot the nut after you have done the flare...
Most complicated was the one that goes from front driver to passenger side, many twists and bends, it was very useful to have kept the old one intact.
Very happy with the result, looks good !
Takes a while, especially when you realize you forgot the nut after you have done the flare...
Most complicated was the one that goes from front driver to passenger side, many twists and bends, it was very useful to have kept the old one intact.
Very happy with the result, looks good !
Sunday, December 30, 2012
Heater for parts washer
Did an interesting upgrade to my parts washer today that I thought my interest some.
As my garage is only a couple degrees over freezing in the winter the cleaning liquid is really cold and not so efficient for cleaning parts.
Bought a universal element for water heater, 1500 watts, these are cheap. Drilled a hole on the side of the washer and screwed it in place. Toughest part was to find a nut large enough with the correct thread, couldn't find one in any of the local diy store so I just bought a small piece of threaded pipe and cut it. Seems like it's working well, an extra bonus is that I don't freeze my hands cleaning the parts anymore !
As my garage is only a couple degrees over freezing in the winter the cleaning liquid is really cold and not so efficient for cleaning parts.
Bought a universal element for water heater, 1500 watts, these are cheap. Drilled a hole on the side of the washer and screwed it in place. Toughest part was to find a nut large enough with the correct thread, couldn't find one in any of the local diy store so I just bought a small piece of threaded pipe and cut it. Seems like it's working well, an extra bonus is that I don't freeze my hands cleaning the parts anymore !
Thursday, December 20, 2012
Front suspension
Front suspension is finally assembled, with poly bushes and all moving parts replaced.
Assembly of the driver side proved more difficult than expected as the top suspension arms were bent probably from a past accident. Of course, i did not find this out until after several trial fit of the newly painted parts.
Luckily the parts car came to the rescue and donated the needed organs !
Assembly of the driver side proved more difficult than expected as the top suspension arms were bent probably from a past accident. Of course, i did not find this out until after several trial fit of the newly painted parts.
Luckily the parts car came to the rescue and donated the needed organs !
Sunday, December 2, 2012
triumph spitfire front bearings replacement
Since everything is apart it would be a shame not to replace the bearings as they are not expensive.
Much easier when you have done once before.
Start by pushing the old bearing cups out with a drift, there are 2 places to for that, clean the old grease out and you should see them
You can see here the 2 bearings and the cups that need to be pushed in. See the sockets I found that match the size.
Gently push in with the press or a vice.
Et voila ! Just need to pack with grease
Saturday, November 17, 2012
Changing the springs and shocks
As always with this kind of operation precaution is the key word, actually made a plate as suggested in the spitfire magazine, and that made the replacement way easier and surely safer.
Now boasting new uprated and shortened springs + gaz shocks !
Photo of the setup to remove the spring below :
Now boasting new uprated and shortened springs + gaz shocks !
Photo of the setup to remove the spring below :
Sunday, October 28, 2012
Starting on front suspension
Got one side completely dismantled then sandblasted and powdercoated the arms.
Now need to order the poly bushes for an impeccable ride !
Saturday, October 20, 2012
Rocker patch fabrication
Been cutting templates out of thin cardboard, it's time well spent so the part fits right and need to use only very little filler before paint.
November update : Here is what it looks like once installed :
Subscribe to:
Posts (Atom)