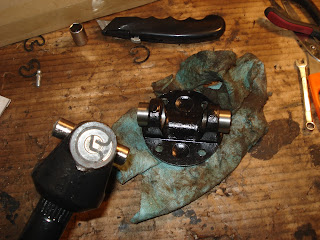
This weekend i attaqued where the driver puts his feet and extracted these 4 rusty puzzle pieces.
Now on to reproducing them out of fresh metal and welding back in place. Endless fun !
I will try to keep this blog updated with my progress on my new project : a 1967 triumph spitfire mk3. Hoping this will help others and hoping I will get help as I would like to do things right.
Tuesday, June 25, 2013
Sunday, June 16, 2013
I see wheels !
Historical moment the chassis has wheels !
Will help free space in the garage while i work on all the other stuff...
Will help free space in the garage while i work on all the other stuff...
Tuesday, June 11, 2013
Spitfire rear bearings replacement
I remember a long time ago, my british friend Craig had told me that replacing the rear bearings on the spitfire was a bit more involved than the front ones and I shouldn't mess with it unless I know I have a bearing issue, he was right. It's easy once you have done it but deserves some photos to help the next one.
Start by removing the flange and for that you will need the special tool so that you don't bend it. I think I had a post on it, it takes a lot of force and will come out with a bang so be cautious.
Then push the axle out, I used a standard extractor.
Push the old bearings out with drif and hammer but note position and orientation of bearings and seals.
Might as well change the U.J. while we're here
Press or push the bearings and seals back in.
Then push the hub back on the axle. I used the press but it might work with gentle hammering the important part being to push on the inner ring of the bearing so use a tube the right diameter.
Now that's the part where I scratched my head for a long time !!! What is the position of the hub supposed to be ? There is nothing stopping you. In the manual it talks about the position of the grease cap but that doesn't really help. Eventually I realized that when torquing the big nut back on it will push it where it's supposed to be. This is my second attempt, see I only pushed it to over 2 1/2 just enough to be able to thread the nut properly.
Then torque the nut to 110 and it will push the whole thing to where it's supposed to be,
A look at the assembly on the car. Maybe we can put some wheels on soon !
Subscribe to:
Comments (Atom)


