Tuesday, August 30, 2011

Clutch pedal connexion


Same problem with the clutch pedal, the hole is not round anymore ! More welding required yeehah

As well I am wondering if there's supposed to be some sort of recall spring ? There's one on the brake pedal but not on the clutch

Sunday, August 28, 2011

Master cylinder overhaul triumph spitfire mk3


So I finally got the right kit. Actually it is the same for the brake and the clutch master cylinder.
Below is photo of the assembly before replacing the rubbers.


Cleaned everything really well, put some of the red grease supplied on the rubber, and some dot5 liquid inside the cilinder before re-assembly.

Below are the 2 master cylinders ready to go !


Now I noticed that the brake connecting pin was completely worn out from years of operations. It is worth getting new ones as they are only a few $. However the bracket has worn out too !

I am going to attempt to fill the gap with a nice weld and re-drill


That worked pretty on the first one, on the second I didn't drill straight. Oh well, will need to re-weld and re-drill.I wonder if that will hold and if the pin will wear first.


Last thing, actually I found that was the most difficult : Putting the end rubber protection back on. The hole is tiny and I wondered how on earth you can fit that big washer through it. Especially as the previous one had a crack from the center probably from a failed attempt.

Well amazingly it does fit through without breaking. I greased the rubber with that same red grease and pushed the head and the washer together first but pushing one side of the washer through first. Couldn't take a photo as you will need both hands.


Next step : Brake calipers. But before replacing the rubbers and the cylinders, I am wondering if I want to powder coat them ?

Monday, August 15, 2011

Brake master cylinder repair

Plan is to renew anything plastic or rubber in the braking system, clean all and the opportunity to upgrade to DOT5 and say goodbye to paint damage from brake liquid spills.
I red as well that Dot 5 doesn't collect moisture so that sounds great too.

From looking inside the brake master cylinder it was well needed. Bad news is I need new brake pistons.

Found it difficult to get the piston out of the brake master cylinder because it really fell like something was holding it inside but no way to get to it. Here is the procedure :
1. Remove the circlip at the end
2. Tap on newspaper to get the piston out or like I did get a bit of compressed air to help. Be careful it can really transform into a projectile.

Once out I realize that none of these rings seem to be the right size. I ordered the "fit most mk3 kit" stupid me, probably due to the fact that I have an early mk3 I have a single line brake circuit so I will need to order a different kit.

I think they must be starting to like me a lot where I order my parts :-)
For now, vacation and will continue when I return.

Saturday, August 13, 2011

Brake parts

Parts received, operation brakes is starting !

Sunday, August 7, 2011

Gearbox oil

Replaced the old gearbox oil, took out around 0.5l when 0.85 is supposed to be there. The gears shift better now...

While I was at it reinstalled the restored wiper motor and steering wheel and went for a short ride. Engine lacks power at time, better tuning is needed, to be continued. Next big thing on list, brakes ?

Sunday, July 31, 2011

Spitfire restoration steering wheel

Welded the little bars back on the outside and filled and painted >> one shiny steering wheel. Not looking as good as I was hoping but that will do for now.

Cleaned and painted the wiper motor while I was at it.

Steering wheel before the week end

Spokes are broken on right and left side

Monday, July 25, 2011

SU Carburetors like new

This time I had all I need...


The new parts I needed were mostly :
- the rubber holding the tank in place as I noticed they hold the tank at the right position and when it's in the wrong position the choke moving mecanism jams
- the butterfly shaft as they were really badly worn and surely creating a leak. The wear is impressive


Was exciting to put it all back together, I was worried I might forget what goes where and I did have to dismantle several times after I put back together as I did some steps in the wrong order.

I cleaned them best I could and they look really nice now. Notice on the left the bag of parts that have been replaced, even the needle is new.


Moment of excitement as I install these back on the car. Refilled the inside of the pots with 20/50 engine oil. Did some basic tuning, not sure how good that is but that will have to do for now. Looks so good and the engine runs weh eh !

I used the following technique to tune, from an article I found on classic car magazine uk. Thanks to them, that got me started and I found it simple to understand.


Friday, July 15, 2011

Sunset on carb parts

Unfortunately I won't be able to finish this week end because I realized there are additional worn parts that I need to replace as well : the butterfly shaft and the grommet connecting the chamber as it allows it to move causing the choke tube to stick.

To be continued in a few days...

Thursday, July 14, 2011

Carbs rebuild

Second time off but this time with the carb rebuild kit. Lets hope i have the correct needles.

Monday, June 13, 2011

Driven !

Gas tank is back on and I could take an other drive around the block this weekend.

Saturday, June 4, 2011

Gas tank


Cleaning out the tank so i can use it and stop messing with small amounts to make the engine run

Sunday, May 22, 2011

We have a runner !


Sometimes it helps, 2 heads scratching at the same time. My dad is here on vacation for a few weeks and gave me a hand. What did we do really ? I had realigned the timing, then new spark plugs, news leads and she ran ! So excited, tried to put back the radiator as fast as possible to go for a drive !

The car drove to the next block and back. Quite fun and the engine seems to be working fine although it does idle really high.
Something strange though, it's difficult to put the car in reverse and first gear, sounds like gears grinding together, I know there's no synchro in these 2 gears so that might normal ?

Saturday, May 14, 2011

Title !

Received the title, car is officially mine

Friday, May 6, 2011

Title application

No photo for an exciting news but went to the DMV yesterday and they accepted my application for a title for the car. That + sales tax I had to part of $60 but eh that's not bad, fingers crossed I should receive the title in the mail next week, important step for the project !

Sunday, May 1, 2011

Rocker cover

Am still thinking about what could stop the engine from starting. Head scratch time.

At least I managed to take the cam cover off using razor blades.
Not very dirty in there and there some bolts that don't look original, so the engine might have been rebuilt before. Not sure if that's a good or bad news...

Carbs clean

Received the rebuilt starter, couldn't wait. Now back to square, it doesn't start. Opened and cleaned the carbs as a lot was stuck in there.

Now still no luck starting grrrr. Plugs seem to receive gas, I have spark and then checked compression in cylinder 4 good. Hum need to think about all this...

Saturday, April 23, 2011

New starter

Frustrating ... Spent a few hours cleaning that starter motor top to bottom to realize that it's shorting somewhere.
Next week's vacation will give the new one time to ship


And check out my electrolyze de-rust setup :-)

Wednesday, April 20, 2011

Grinding noise

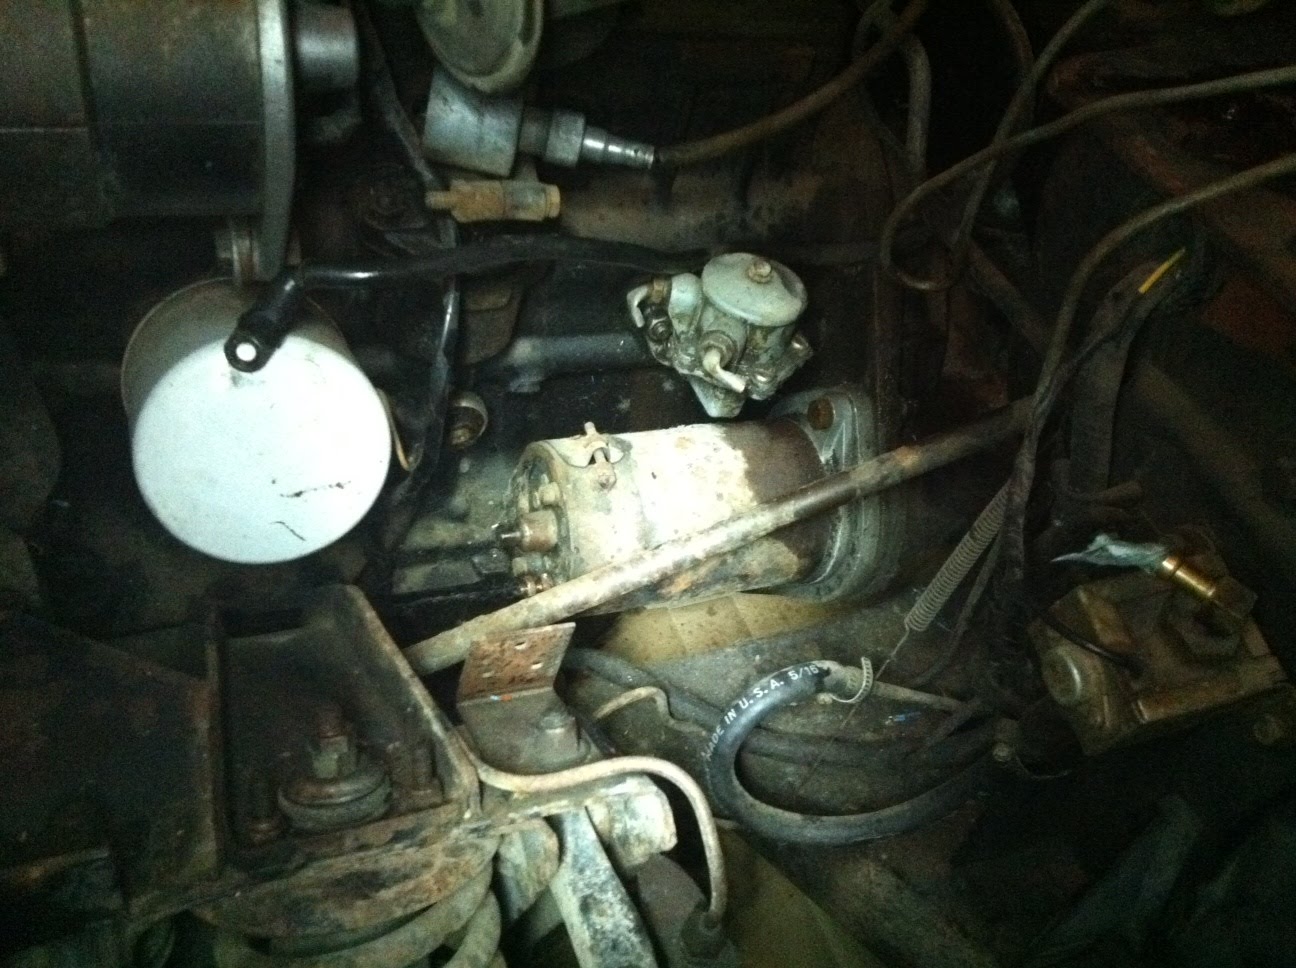
Hoping the noise is due to a stuck starter motor gear. Let's take it off.
PS : testing the post on blog from email feature really :-)

Edit : After taking it off, the noise is due to a stuck motor gear wouhou ! Will look at this tomorrow.