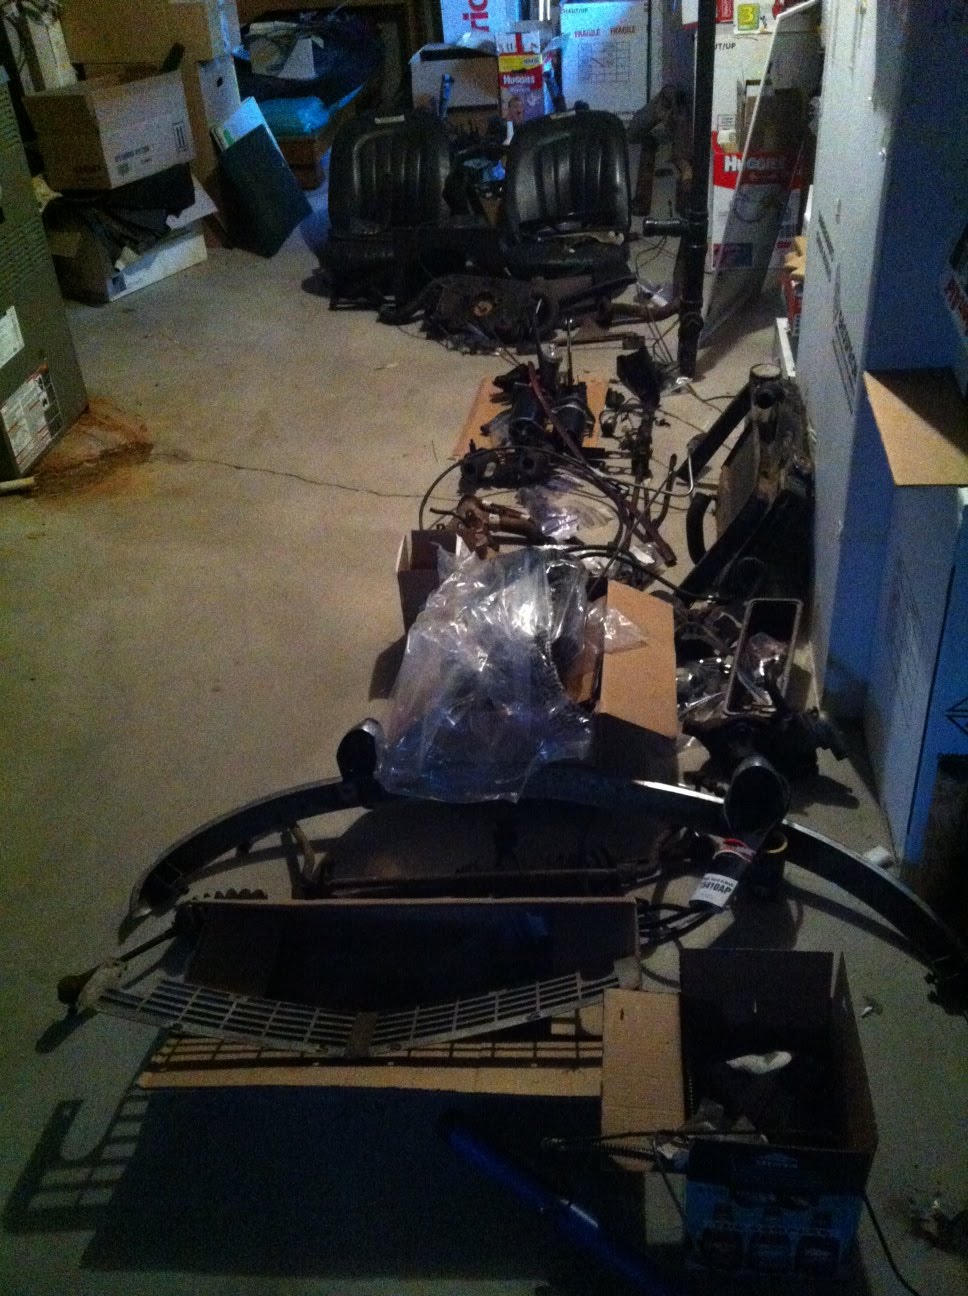
Starting on the bodywork and will work my way from front to back, am still way at the front !
Unfortunately there's more damage than i thought, it will take a while.
I will try to keep this blog updated with my progress on my new project : a 1967 triumph spitfire mk3. Hoping this will help others and hoping I will get help as I would like to do things right.
Sunday, September 30, 2012
Sunday, September 23, 2012
Spitfire hub puller
Been wanting to have one of these triumph tools for a while...
Basically due to the conical shape of the shaft and the hub, these 2 always get stuck pretty hard.
Best solution is to have a tool to put pressure on the shaft but without risking to bend the hub.
I made one using dimensions found on triumphexperience. Kind of made my own using materials I had available. It worked but it was hard work, had to use the impact gun. And when you do that, remember to leave the nut on the shaft to protect the threads and that it doesn't go flying when it comes of !
Basically due to the conical shape of the shaft and the hub, these 2 always get stuck pretty hard.
Best solution is to have a tool to put pressure on the shaft but without risking to bend the hub.
I made one using dimensions found on triumphexperience. Kind of made my own using materials I had available. It worked but it was hard work, had to use the impact gun. And when you do that, remember to leave the nut on the shaft to protect the threads and that it doesn't go flying when it comes of !
Sunday, September 16, 2012
Spitfire rotisserie blueprint
Some have asked, so here is some more info on the rotisserie. Use it to make your own from whatever materials you have available, many have been built out of wood, not a problem as long as you adapt the design to make it solid enough. I wanted a strong one that I can easily move and can re-use on future projects with different cars, hence the large size and beefy build.
Overall if I had to redo it I would make it not so tall, and the centre of gravity it a bit to high and the part with the top of the car is heavier, I pushed it up as there is more metal on the bottom part of the car but you would probably want to do an inch lower.
Front and side blueprint with dimensions
Here is a general view of the rear support and mounting
Front support, you can see the locking system
Bolt system to lock the channel in place, makes for a solid assembly
Overall if I had to redo it I would make it not so tall, and the centre of gravity it a bit to high and the part with the top of the car is heavier, I pushed it up as there is more metal on the bottom part of the car but you would probably want to do an inch lower.
Front and side blueprint with dimensions
Here is a general view of the rear support and mounting
The rear mounting bracket, attached inside the trunk to where the bumpers support normally bolt onto as I wanted to keep the underside free so I could work on it


Front support, you can see the locking system
Bolt system to lock the channel in place, makes for a solid assembly
Monday, September 3, 2012
Spitfire body is on rotisserie
Big milestone today, the body tub finally moved from sitting on top the parts car to the homemade rotisserie. I can now start painting and fixing it.
Quite happy with the design, and spending time to get a good guess at positioning the brackets was worth it as it pretty well balanced and rotates without too much effort.
Thought I would ask a couple of friends to help but in the end just installed it myself with the help of the engine hoist.
Looks good or what ? Now I can start welding sheet metal :-)
Quite happy with the design, and spending time to get a good guess at positioning the brackets was worth it as it pretty well balanced and rotates without too much effort.
Thought I would ask a couple of friends to help but in the end just installed it myself with the help of the engine hoist.
Looks good or what ? Now I can start welding sheet metal :-)
Sunday, September 2, 2012
I hate paint
Not happy with the paint result but eh it's all good learning.
My best tips for next time :
- keep the outside door opened
- filter the paint after mixing
- you cant mix the paint enough
- get plenty of light, frustrating to discover you missed a spot once the part is in day light
My best tips for next time :
- keep the outside door opened
- filter the paint after mixing
- you cant mix the paint enough
- get plenty of light, frustrating to discover you missed a spot once the part is in day light
Friday, August 31, 2012
Protective coat
Getting ready to spray more of that black epoxy coat on the hood and various bits. Improving the technique !
Thursday, August 23, 2012
Chassis paint
Got some black epoxy paint. Did the top side with a brush hoping that it would fill ok. Not so good so i sprayed the other side.
Friday, August 17, 2012
Tuesday, August 7, 2012
Guess who's back
Back from media blasting already.
Looking better than expected on the rear quarter panels.
Can't wait to get started !
Next step : install on rotisserie and primer
Looking better than expected on the rear quarter panels.
Can't wait to get started !
Next step : install on rotisserie and primer
Monday, August 6, 2012
Saturday, July 14, 2012
Doors ready
Been procastinating for a while to get the doors ready for sandblasting. Kind of knew it was not going to be fun. Took 2 hours to get the first door ready but the second one was ready in no time, much easier once you know how to wiggle the various mecanism out of the door.
Got all the parts laid out in the basement and some shelves, lots of parts in a spitfire !
Wednesday, July 11, 2012
Spitfire paint removal
You seriously have to see how easy it is to strip the top layer of paint on flat surfaces.
All you need is a razor blade !
A video is better than words, see below
All you need is a razor blade !
A video is better than words, see below
Monday, July 9, 2012
Spitfire parts
I might have bought a parts car... thanks Mitch !
I now have 2 spitfire projects in the garage, ouch.
Sunday, July 8, 2012
Spitfire chassis cleaning
Stripped and cleaned the chassis this weekend. Sprayed degreasant and pressure washed.
Looks like someone used that hole in the chassis to make a little house !
Monday, July 2, 2012
The point of no return
Pretty sure i have reached the point of no return. Body tub was lighter than expected but not so easy to handle so i am happy i had an extra 3 set of arms to help.
Car looks good like that, spitfire low rider !
Wednesday, June 27, 2012
Body tub strengthening
Added 2 bars so the body doesnt fold at the door level. Did some banging on the trunk as well to set closer to straight.
Looks the body might come off this week end !
Monday, June 18, 2012
Floors prep
Realized i had a few more things to do before separating the body from the chassis, such as removing a previous owner attempt at fixing the floor. The plates were put in place with rivets, self tapping screws and great extent of caulk...
Been toying with various techniques for taking some paint off before media blasting, chemical stripper works if the correct quantity is applied on the blue orginal paint and the red top coat goes off amazingly well with just a razorblade. A combination of the 2 might get me pretty far, we'll see.
Monday, May 28, 2012
Spitfire dismantling - part 6
Good progress this week end, finished around the trunk area. Almost everything connected to the body tub is off.
Next steps are prepare the body to be lifted off the chassis !
(reinforcement bar in door area and maybe floors)
Next steps are prepare the body to be lifted off the chassis !
(reinforcement bar in door area and maybe floors)
Sunday, April 29, 2012
Spitfire dismantling - Part 5
Wire harness is finally off the car, been looking forward to that moment, but not looking forward to when I will have to reconnect everything.
Car is really starting to look naked, steering column and seats are off too. Can things go fast from now ?
Sunday, April 8, 2012
Subscribe to:
Posts (Atom)