Sunday, December 30, 2012

Heater for parts washer

Did an interesting upgrade to my parts washer today that I thought my interest some.
As my garage is only a couple degrees over freezing in the winter the cleaning liquid is really cold and not so efficient for cleaning parts.

Bought a universal element for water heater, 1500 watts, these are cheap. Drilled a hole on the side of the washer and screwed it in place. Toughest part was to find a nut large enough with the correct thread, couldn't find one in any of the local diy store so I just bought a small piece of threaded pipe and cut it. Seems like it's working well, an extra bonus is that I don't freeze my hands cleaning the parts anymore !

Thursday, December 20, 2012

Front suspension

Front suspension is finally assembled, with poly bushes and all moving parts replaced.

Assembly of the driver side proved more difficult than expected as the top suspension arms were bent probably from a past accident. Of course, i did not find this out until after several trial fit of the newly painted parts.

Luckily the parts car came to the rescue and donated the needed organs !

Sunday, December 2, 2012

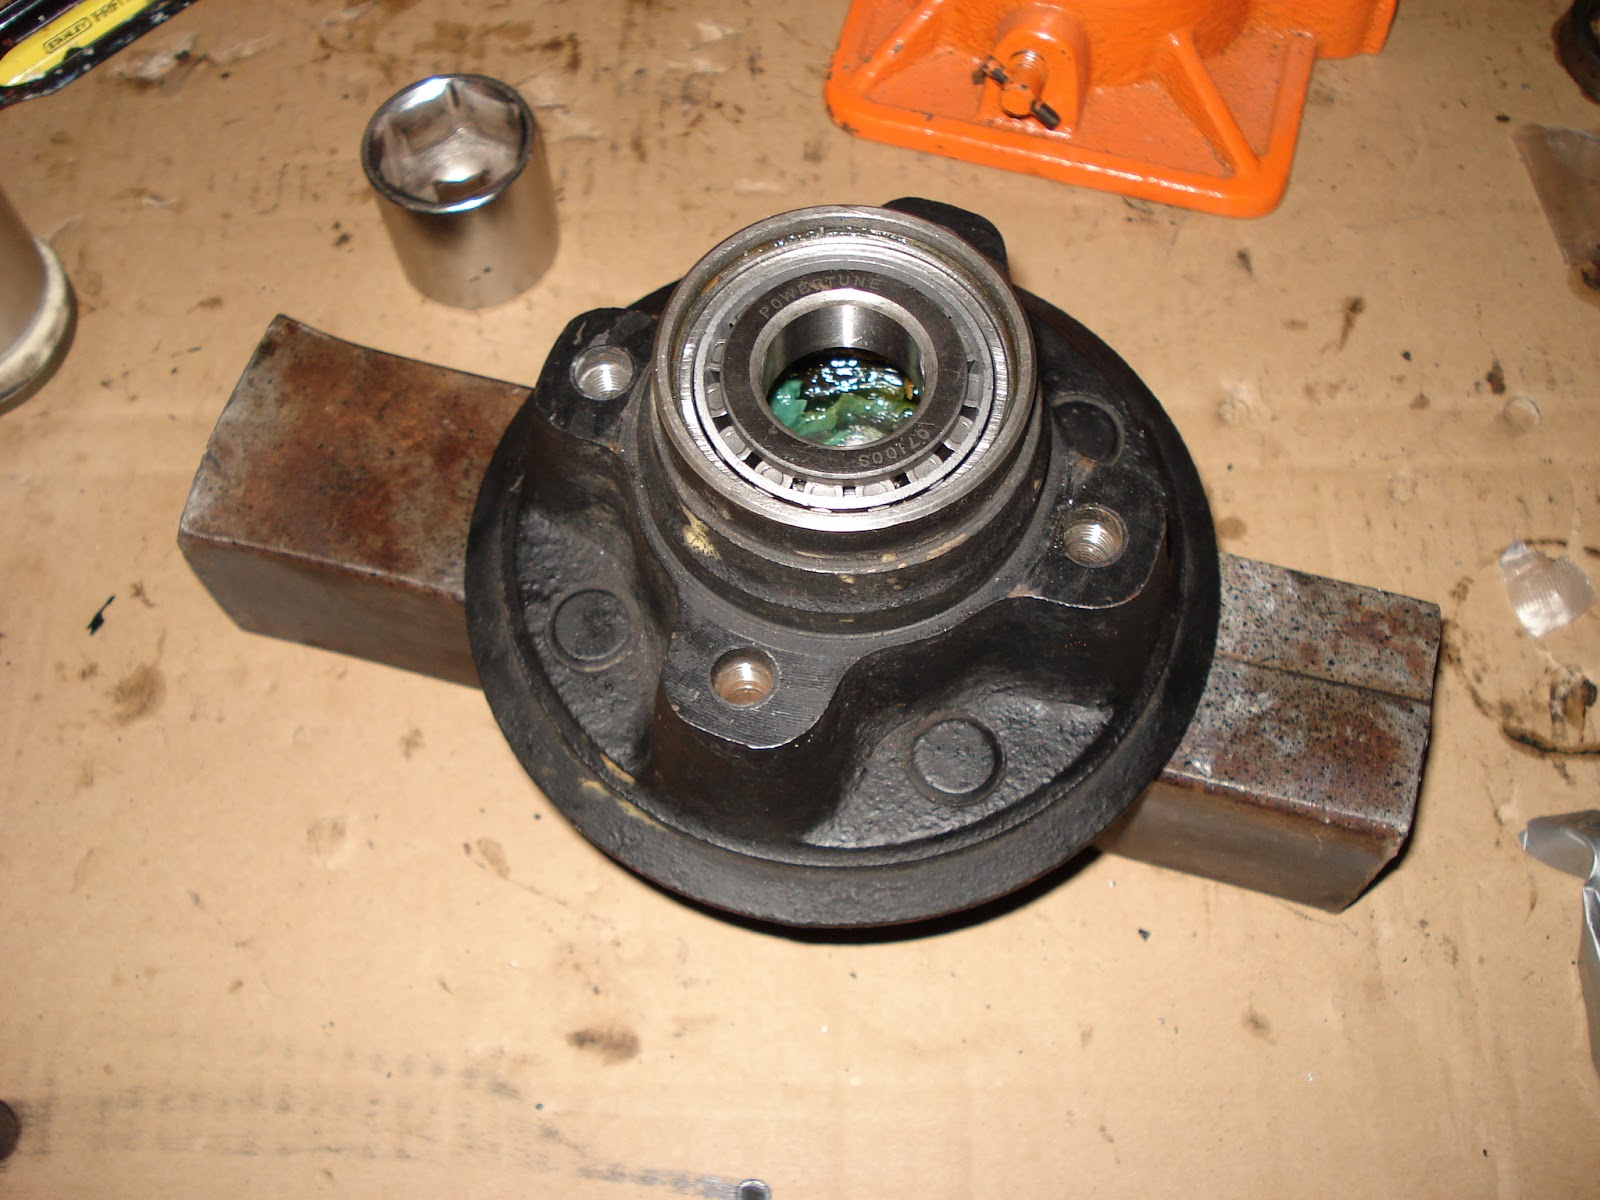
triumph spitfire front bearings replacement

Since everything is apart it would be a shame not to replace the bearings as they are not expensive.

Much easier when you have done once before.
Start by pushing the old bearing cups out with a drift, there are 2 places to for that, clean the old grease out and you should see them

You can see here the 2 bearings and the cups that need to be pushed in. See the sockets I found that match the size.

Gently push in with the press or a vice.

Et voila ! Just need to pack with grease

Saturday, November 17, 2012

Changing the springs and shocks

As always with this kind of operation precaution is the key word, actually made a plate as suggested in the spitfire magazine, and that made the replacement way easier and surely safer.

Now boasting new uprated and shortened springs + gaz shocks !

Photo of the setup to remove the spring below :


Sunday, October 28, 2012

Starting on front suspension

Got one side completely dismantled then sandblasted and powdercoated the arms.

Now need to order the poly bushes for an impeccable ride !

Saturday, October 20, 2012

Rocker patch fabrication


Been cutting templates out of thin cardboard, it's time well spent so the part fits right and need to use only very little filler before paint.

November update : Here is what it looks like once installed :


Tuesday, October 16, 2012

Inner sill repair

Behind the damaged rocker panel was a damaged sill... Turns out to be more work than ecpected but i want to do this right. Home made repair patches are in place now working on making the rocker part to be replaced, a bit more complicated as it has a curve and a lip.

Sunday, September 30, 2012

Floor bodywork

Starting on the bodywork and will work my way from front to back, am still way at the front !
Unfortunately there's more damage than i thought, it will take a while.

Sunday, September 23, 2012

Spitfire hub puller

Been wanting to have one of these triumph tools for a while...
Basically due to the conical shape of the shaft and the hub, these 2 always get stuck pretty hard.
Best solution is to have a tool to put pressure on the shaft but without risking to bend the hub.

I made one using dimensions found on triumphexperience. Kind of made my own using materials I had available. It worked but it was hard work, had to use the impact gun. And when you do that, remember to leave the nut on the shaft to protect the threads and that it doesn't go flying when it comes of !


Sunday, September 16, 2012

Spitfire rotisserie blueprint

Some have asked, so here is some more info on the rotisserie. Use it to make your own from whatever materials you have available, many have been built out of wood, not a problem as long as you adapt the design to make it solid enough. I wanted a strong one that I can easily move and can re-use on future projects with different cars, hence the large size and beefy build.

Overall if I had to redo it I would make it not so tall, and the centre of gravity it a bit to high and the part with the top of the car is heavier, I pushed it up as there is more metal on the bottom part of the car but you would probably want to do an inch lower.

Front and side blueprint with dimensions

Here is a general view of the rear support and mounting

The rear mounting bracket, attached inside the trunk to where the bumpers support normally bolt onto as I wanted to keep the underside free so I could work on it


Front support, you can see the locking system

 Bolt system to lock the channel in place, makes for a solid assembly


Monday, September 3, 2012

Spitfire body is on rotisserie

Big milestone today, the body tub finally moved from sitting on top the parts car to the homemade rotisserie. I can now start painting and fixing it.


Quite happy with the design, and spending time to get a good guess at positioning the brackets was worth it as it pretty well balanced and rotates without too much effort.


Thought I would ask a couple of friends to help but in the end just installed it myself with the help of the engine hoist.


Looks good or what ? Now I can start welding sheet metal :-)


Sunday, September 2, 2012

I hate paint

Not happy with the paint result but eh it's all good learning.

My best tips for next time :
- keep the outside door opened
- filter the paint after mixing
- you cant mix the paint enough
- get plenty of light, frustrating to discover you missed a spot once the part is in day light

Friday, August 31, 2012

Protective coat

Getting ready to spray more of that black epoxy coat on the hood and various bits. Improving the technique !

Thursday, August 23, 2012

Chassis paint

Got some black epoxy paint. Did the top side with a brush hoping that it would fill ok. Not so good so i sprayed the other side.

Friday, August 17, 2012

Chassis prep

A lot of banging and a bit of welding, the sandblasted chassis is getting ready for paint.

Tuesday, August 7, 2012

Guess who's back

Back from media blasting already.

Looking better than expected on the rear quarter panels.

Can't wait to get started !
Next step : install on rotisserie and primer

Monday, August 6, 2012

Off to sandblasting

Good milestone today, car is finally of to get sandblasted. Body, doors, hood and chassis.

Saturday, July 14, 2012

Doors ready

Been procastinating for a while to get the doors ready for sandblasting. Kind of knew it was not going to be fun. Took 2 hours to get the first door ready but the second one was ready in no time, much easier once you know how to wiggle the various mecanism out of the door.

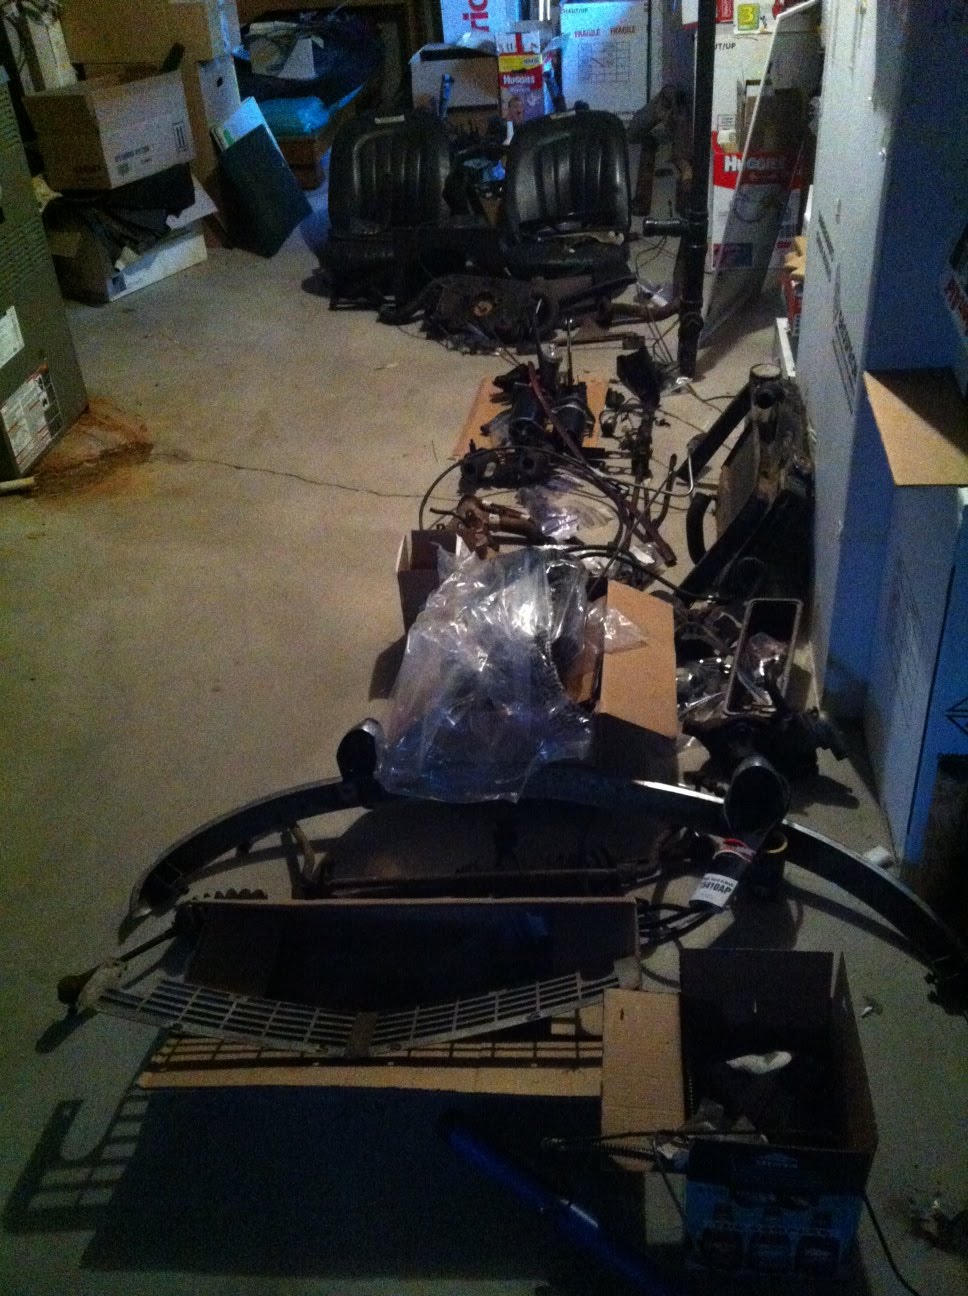
Got all the parts laid out in the basement and some shelves, lots of parts in a spitfire !

Wednesday, July 11, 2012

Spitfire paint removal

You seriously have to see how easy it is to strip the top layer of paint on flat surfaces.


All you need is a razor blade !
A video is better than words, see below


Monday, July 9, 2012

Spitfire parts

I might have bought a parts car... thanks Mitch !

I now have 2 spitfire projects in the garage, ouch.