Sunday, September 29, 2013

Getting ready for the trunk floor

Back into welding !

Prepping the surroundings before the new trunk floor can be installed.

Mainly consisting of :
- removing parts of the old floor that were spot welded (50% done) by grinding and trying to peel it off
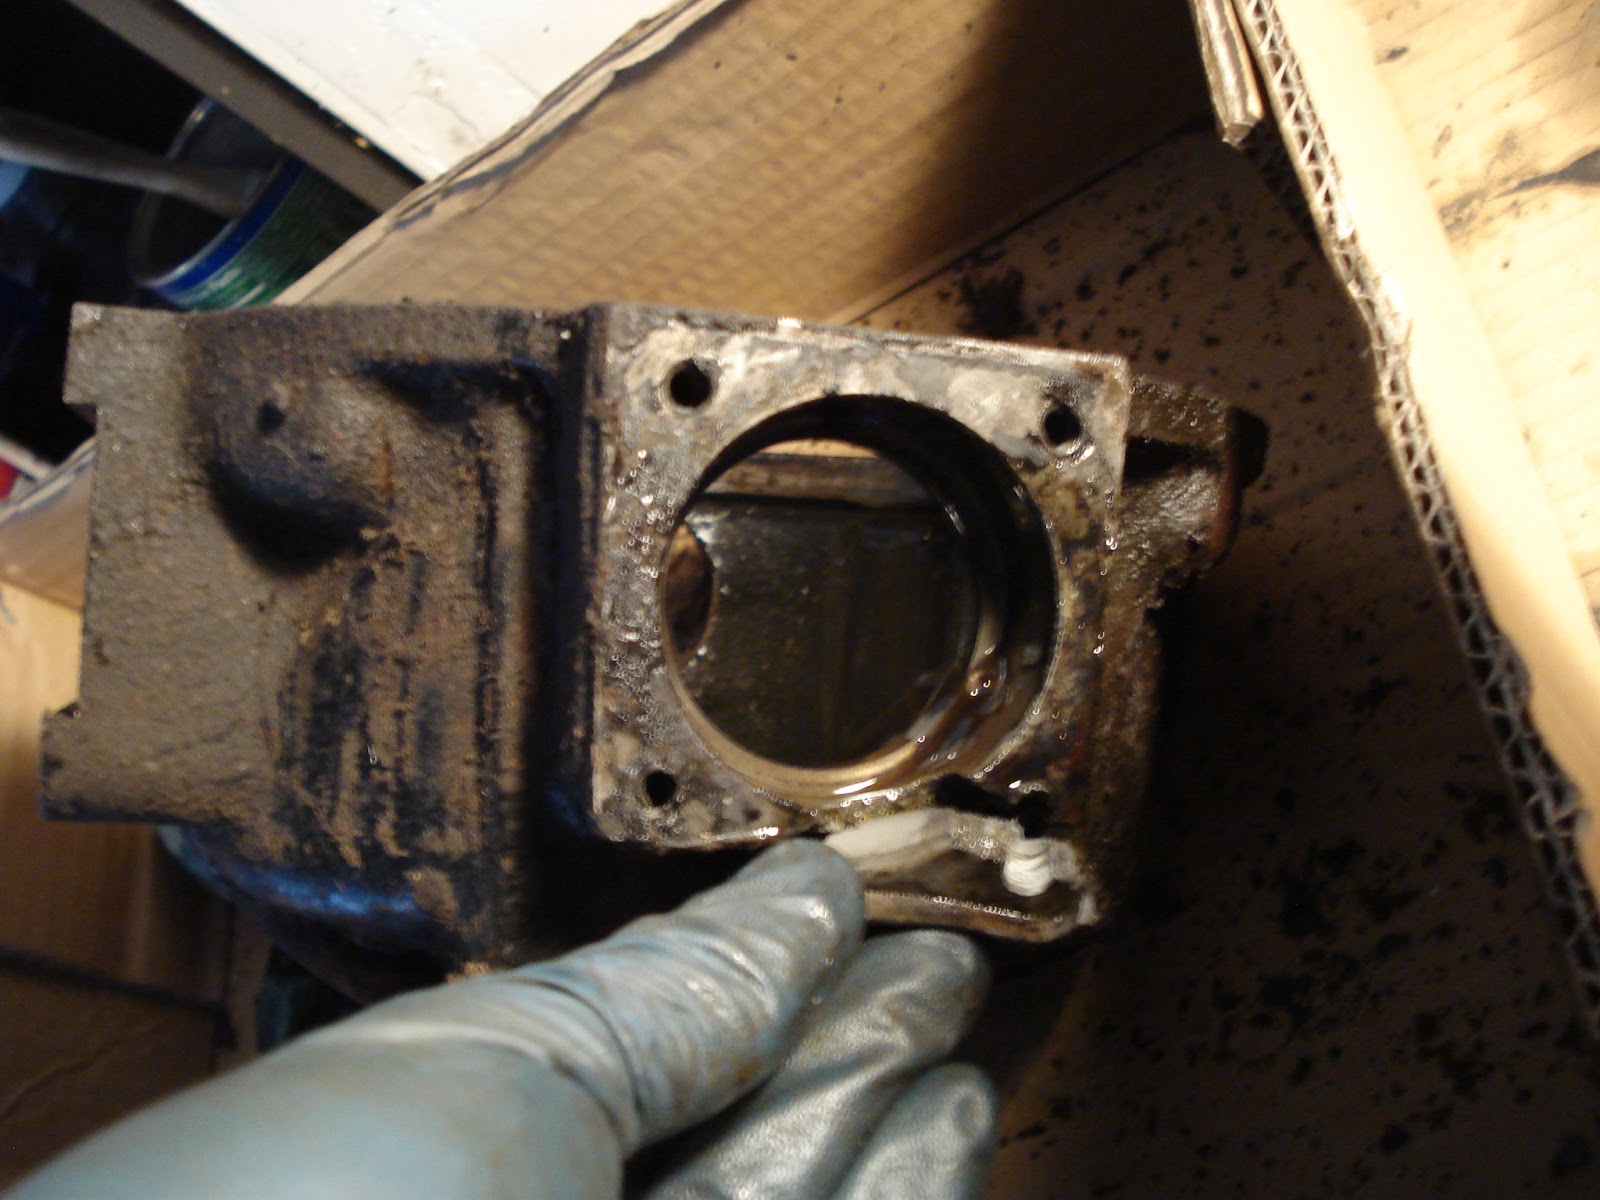
- fixing the rusted parts, see bottom of photo below had to fabricate a sheet metal replacement.

All good fun, goal is to be done with the trunk in 2 weeks !
Let's see how that goes...

Friday, September 13, 2013

Spitfire rear leaf spring spacer

So... It's been a while !

Work, sport, other and other priorities took over the project for a few weeks but it's not bad. Nothing such as a little break to find yourself with fresh motivation !

Remember on one of the previous episodes I had rebuild the rear spring and used tge teflon spacers. It looks like they will work great but they end up raising the height of the spring. That plus in an effort to get the stance and supension working right I decided to add spacers.

Sounds easy enough. Had the spacers fabricated out of aluminum (free favour wouou) to find out that the holes were drilled on the wrong side. No biggie i added 2 holes in each to find out the sapcers dont fit right with the studs in. Starting to get annoying, fine i ll sand and file the spacers till it fits, to find out i need longer studs.
Cant find these anywhere, found the trick online that you can use engine head studs. Grrr ok i ll take these from my parts car.... Of course they were rusted solid in there and each one had to be heated up to be removed !

So... Not such an easy job in the end but a good thing done. Well now i pray that with the weight of the car the stance will be just right.

A photo of the spacers in place for your viewing pleasure below.
See you soon.

Sunday, July 14, 2013

Front floors finished !

Fitted the one i built this week. Then since i had made a passenger one that looked much better than my first attempt i cut it out and put it in place too.

It took so much time it's not even funny, next time i am buying the floors...

Now onto the rear part of the floors, quite a challenge.

Monday, July 8, 2013

Spitfire floor panel forming issues - continued


Yesterday's post probably didn't make much sense, half the text got lost in the internet maze, so here it is off my chest :
The good news : i refined my technique and it looks way better than the passenger side i did.
- The bad news, i did the channels the wrong way round so really i did a passenger side again !!!!

Have been making these with my bead maker, here it is in action. On this one i will do some final touches by hand with the hammer.


Sunday, July 7, 2013

Spitfire floor panel forming issues

See what i am trying to do here ?
Doing my own floor panel using the cheese look alike old one.

Tuesday, July 2, 2013

Your typical tuesday night

Resto rule #10 : if it comes from the parts car it will but rusted solid

Tuesday, June 25, 2013

Driver side foot well

This weekend i attaqued where the driver puts his feet and extracted these 4 rusty puzzle pieces.

Now on to reproducing them out of fresh metal and welding back in place. Endless fun !

Sunday, June 16, 2013

I see wheels !

Historical moment the chassis has wheels !

Will help free space in the garage while i work on all the other stuff...

Tuesday, June 11, 2013

Spitfire rear bearings replacement

I remember a long time ago, my british friend Craig had told me that replacing the rear bearings on the spitfire was a bit more involved than the front ones and I shouldn't mess with it unless I know I have a bearing issue, he was right. It's easy once you have done it but deserves some photos to help the next one.

Start by removing the flange and for that you will need the special tool so that you don't bend it. I think I had a post on it, it takes a lot of force and will come out with a bang so be cautious.

Then push the axle out, I used a standard extractor.


Push the old bearings out with drif and hammer but note position and orientation of bearings and seals.


Might as well change the U.J. while we're here

Press or push the bearings and seals back in.

Then push the hub back on the axle. I used the press but it might work with gentle hammering the important part being to push on the inner ring of the bearing so use a tube the right diameter.


Now that's the part where I scratched my head for a long time !!! What is the position of the hub supposed to be ? There is nothing stopping you. In the manual it talks about the position of the grease cap but that doesn't really help. Eventually I realized that when torquing the big nut back on it will push it where it's supposed to be. This is my second attempt, see I only pushed it to over 2 1/2 just enough to be able to thread the nut properly.


Then torque the nut to 110 and it will push the whole thing to where it's supposed to be,

A look at the assembly on the car. Maybe we can put some wheels on soon !


Wednesday, May 29, 2013

Spitire Universal Joint

Changed one of the UJ. Easy with the press.
The grease nipple seemed in the way so i cut and sliced a small screw to put in place.

Note to self for the next one, might as well grease it before installing it's way easier !

Sunday, May 26, 2013

Did I say I love electrolysis rust removal ?

Let it run all night and these parts were badly rusted. See the result by yourself...

Saturday, May 25, 2013

Spitfire rear spring like new

Should add a before/after picture really...
Cleaned and repainted each leaves and used plastic buttons (from the ebay guy) instead of the rubber ones. Hopefully these will never wear out.

It raised the spring so i am trying to have a cheap spacer built.

Looking good, now on to the rear hubs.

Sunday, May 12, 2013

The differential is in !


I have to start with the photo of the spitfire differential landing into position. That felt good !


Trouble started when I opened the diff and noticed a cracked case. A previous owner had rebuilt with some sort of glue...


Luckily the spitfire community is amazing and Steve from Vegas sent me an other case just for the price of shipping ! Thanks Steve !

Although the outside needs a good clean and paint the inside looked ok and was not making any noise so it's just new oil seals and outside bearings. See previous post for the side seals.


For main pinion seal, pretty straight forward. Remove the nut. (Count the number of turns if you have a later differential)


Remove the flange.


And pop the seal out. Now that was the only part that took me a while, nothing could set it loose, so I ended up welding a little stick to it and pulled it with the slide hammer.


New paper gasket, refill with fresh oil and hopefully good for a lifetime !


Tuesday, May 7, 2013

Triumph spitfire differential bushings

That crazy differential has really taken me a lot of time. Of course now I have done I could probably do  all of it in a few hours, but when it's the first time...

These bushing are solidly in there and the problem is that the surface is not flat to push and kind of awkward to access. So I had to remove the plastic part, make a cut on it and push it through.

Read about setting it on fire, but much easier if you have one of these round saw things


Nothing a hammer can't fix


Asked for assistance from the chief mechanic


And it comes out


Difficult to push them back in because the really have to be forced in there but they need to go in straight. Trick stolen from wheeler dealers, worked great to get it started aligned.


Finish on the press et voila !


Friday, May 3, 2013

Triumph spitfire differential rear oil seal and bearings replacement

I ordered new side seals for the differential thinking "yeah I'll just slap those on while I am there".

Found bits on the web with how to do, took me a while to figure out. So here is the full job with photos, maybe it'll save you some time.

First step, take out the snap ring.


Then capture the bearing with one of these bearing extractor tool. Could not have done it without it because the gap to catch the bearing is so small there is no way to rig something up.
I prefer to catch at the bearing than from the flange below because I tried from the flange on a spare one and it started bending.

Put it in the press and apply the tons ! Beware, it will take a lot of pressure and come out with a bang.


Push the old seal out with the right size sockets


Press the new seal in

Ready for installing the new bearing. At less than $10 per bearing I prefer to install new ones. These are a very common size. I used 6205RS (thanks Steve for the tip !)


 Press them back in.

Tada ! Painted flanges and ready to be mounted.


Saturday, April 6, 2013

Why you should grease the spitfire differential bolt

Needed to take the differential off from the parts car because the casing is broken on the one I have.

After much heavy banging, days of wd 40 and heating that bolt would still not move ! Turn but not move.

In the end had to cut the bolt in the middle, weld a hook to the bolt and pulled it with a hoist with the addition of much much heat.
Lesson learnt, see the bolt is still "welded" to the metal part of the bushes.

Saturday, March 30, 2013

Spitfire battery box replacement

It's one of these jobs once complete you think eh wasn't that bad but it was a pain. The only difficult part is to remove the old battery tray.

See the tool I used, it's important to get a good first punch so the drill doesn't go wandering around, if you need to, drill a small hole. It got easier as I did more holes, you basically have to cut around the spot weld without cutting all the way through.

For the welds at the back I had to make the spot weld drill bit longer using an extension bar from my ratchet box. It was easier this way, maybe because it allowed for a bit a movement correcting for the drill mandrel not being so true.


Here is what it looked like once all spot welds were done. Not pretty. In parts that were still holding together I ended up cutting the battery box  and peeling the part that is welded on like you do on a sardine can using a good pair of pliers.

Pushed the 2 reinforcements aside rather than remove the top part. Saves on more cutting / welding and you can have them out of the way without pushing too far.

A bit of hammering to bend the back lip and all around made the new battery box fit right. Held with vise grips during welding to keep as close as possible

Final result, tada. I will never let water accumulate at the bottom of the new tray ! Dont want to do this again...

Finally having the little helper is what really made it easy :-)


Sunday, March 24, 2013

Spitfire steering rack

 Probably one of the most messy jobs so far. Fully dismantled the steering rack, cleaned everything and re-greased. There was nothing that looked too tired to need replacing apart from the boots, so I got some new ones.

Cleaning all the old grease just so I could paint was what took the most time.


There's a pretty smart balljoint system with a spring on both sides that needs removing in order to pull everything out. After that, pull out the gear and the shaft can slide out. When you pull the gear, careful not to loose that little pin ;-) (See previous post)


Clean, paint, the regreased everything.


Finished product looks good as new ! It's a lot harder to turn now but absolutely no play which is great, the spring play reduction system was probably frozen solid by old grease.

Last, you always need little hands to help with this kind of job !