Saturday, September 9, 2017

Spitfire wheel alignement

Whit brand new tires, didn't want to wait too long to do a proper full wheel alignment and confirm that the car is straight.

I had done the string technique but for knowing really all the angles on camber, alignment etc... a proper machine and operator seems the way to go


Appart from the tie rod, all the other adjustments are done by inserting spacers between the suspension and the frame or body. I had plenty of spare spacers.

In the end we removed all the spacers from the front and left 1 and 2 on the rear.
They said my rear seemed too low but then were not far from target values at around -3, so I plan to remove 1 spacer (between the rear diff and spring - I currently have 2) once the rear spring buttons have worn out a bit.


They left me with a sheet of all current settings and I could take photos of the book they had showing specs for spitfire mk4.

They recommended I inflate the tires a bit more than in the manual (1.5 bar front / 1.8 rear) since we now drive a lot faster around corners than in these days and could start with 1.8 all around and adjust based on tire wear.

Was a bit expensive but super happy to have front and rear alignment in order and now know for sure that the car is not twisted or anything !

Now I can drive the car to work on sunny days, I for sure get noticed in traffic :-)
Shame it's already September.


Spitfire wheels and bits

With a third gear I was able to now focus on making the car easier (and less dangerous) to drive.

Prority 1 the wheels. Tires were of course old but as well the wrong size.
See, I had 165/80 when the correct for this car are 155/80


I removed the old tires and ordered 4 Toyo NanoEnergy 3 155/80 R13 from one of the online places. They had michelin available as well but these seemed good enough and cheaper. 130 euros for 4 new tires, can't beat that on a modern car as they are so much bigger.

I got the 4 wheels sandblasted at a local place and powder coated in the area by sablage2000. They were super nice, did a good job and were reasonably priced.

Final result, car handles so much better and has tons of grip !
Now I can start driving more often and further :-)


Triumph spitfire gearbox "almost" rebuild


Since the third gear would pop out as soon as you would press the accelerator and the linkage was ok, no choice but to pull the gearbox again out the car.

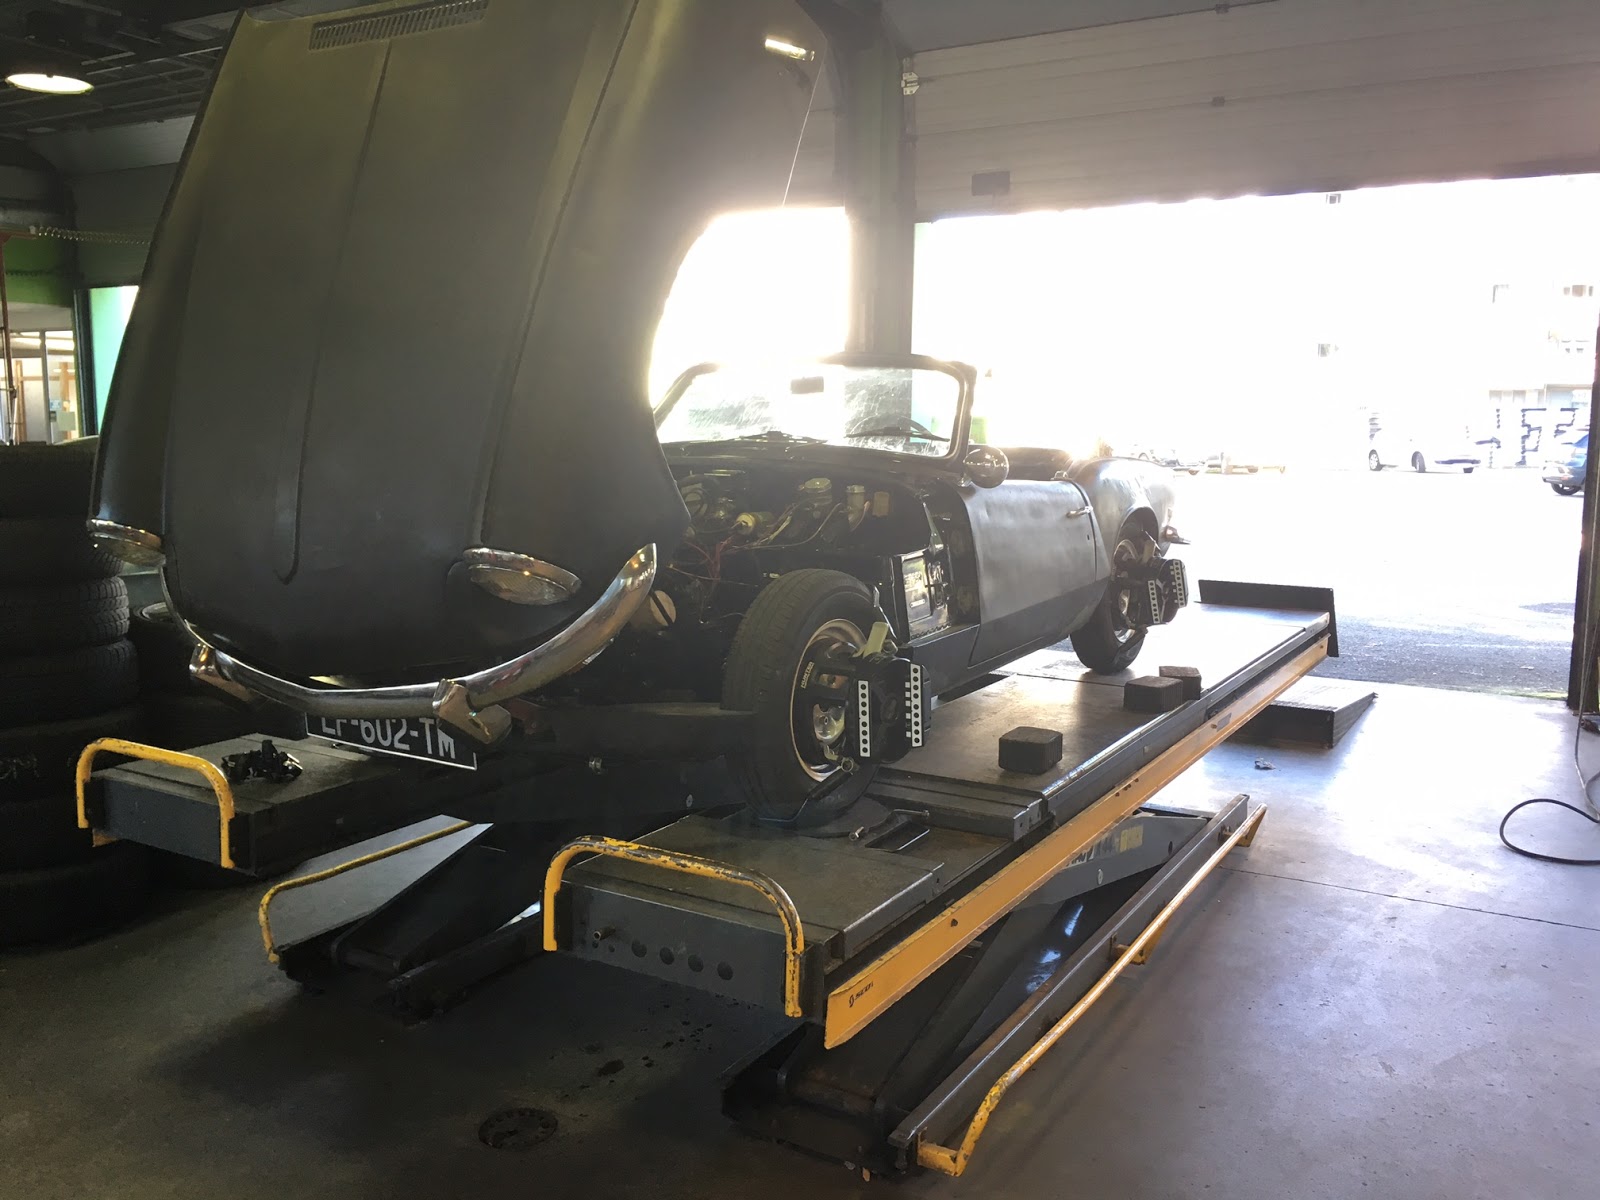
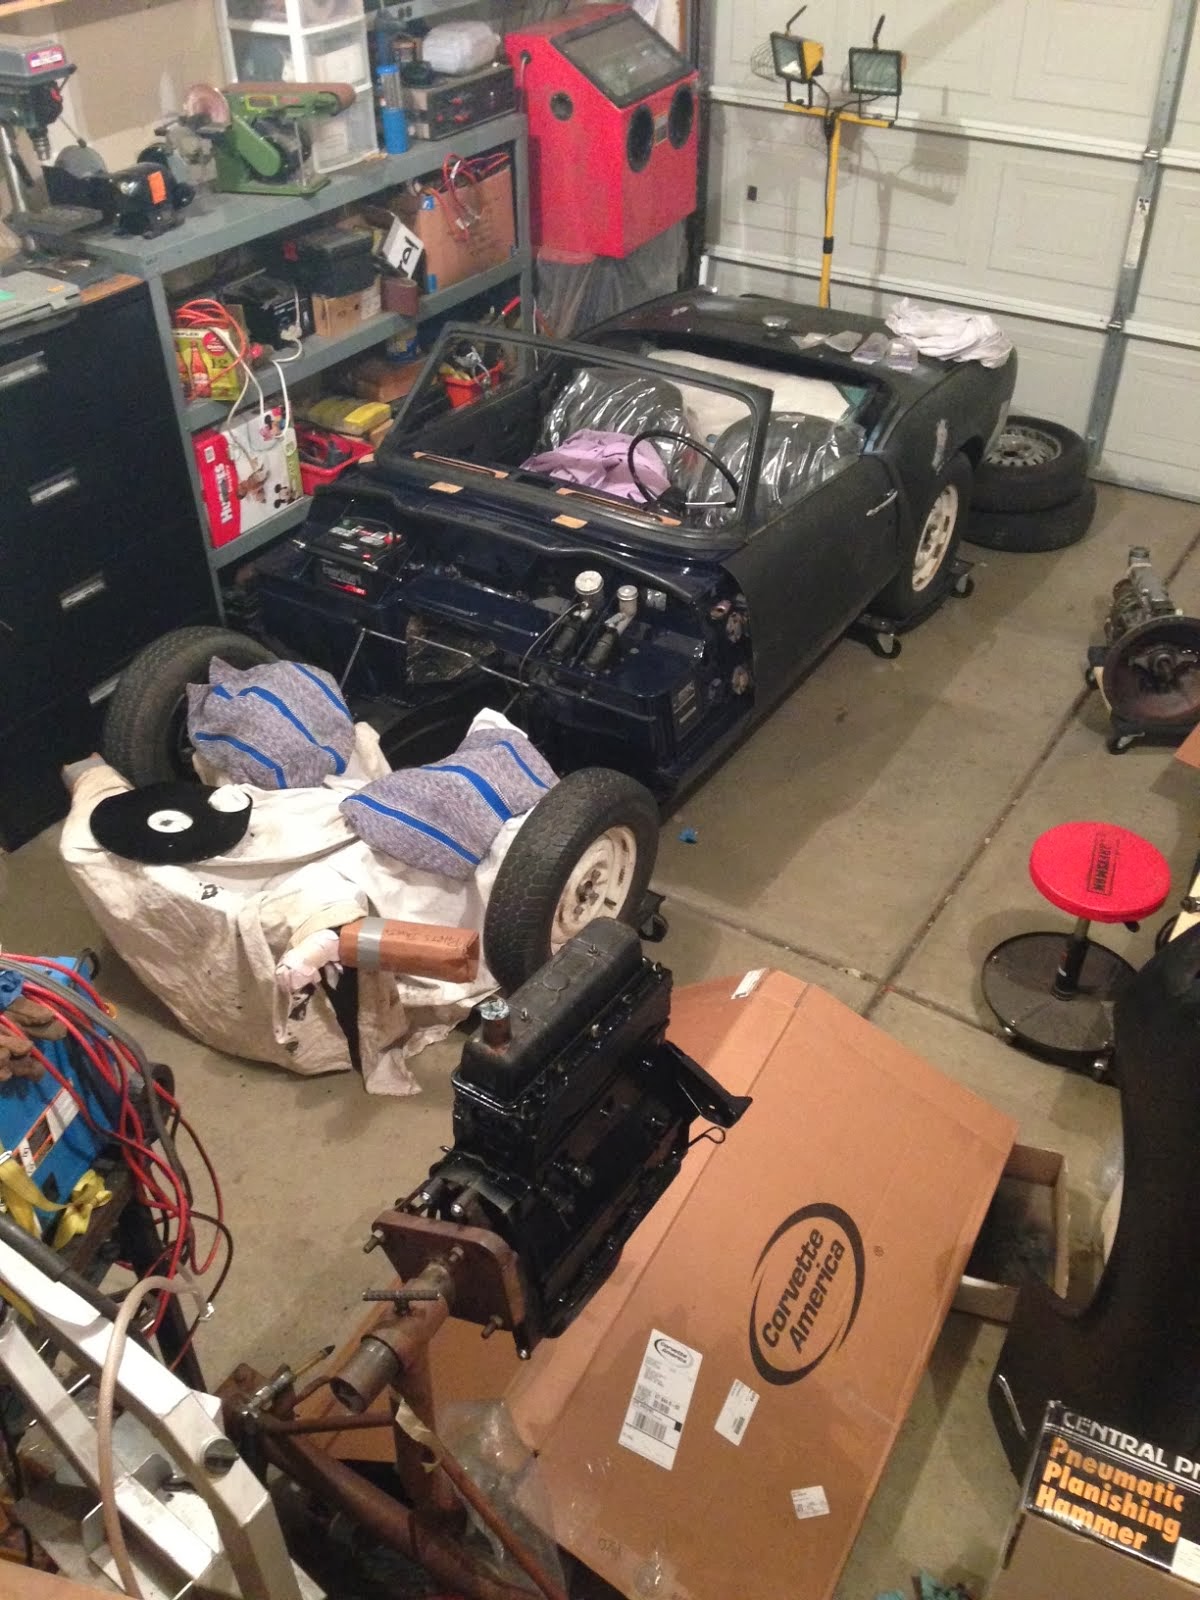
By the end of the winter I knew it was a good time to get started, less ski and keen to fix before summer ! Pulled the engine and transmission out in March 2017.

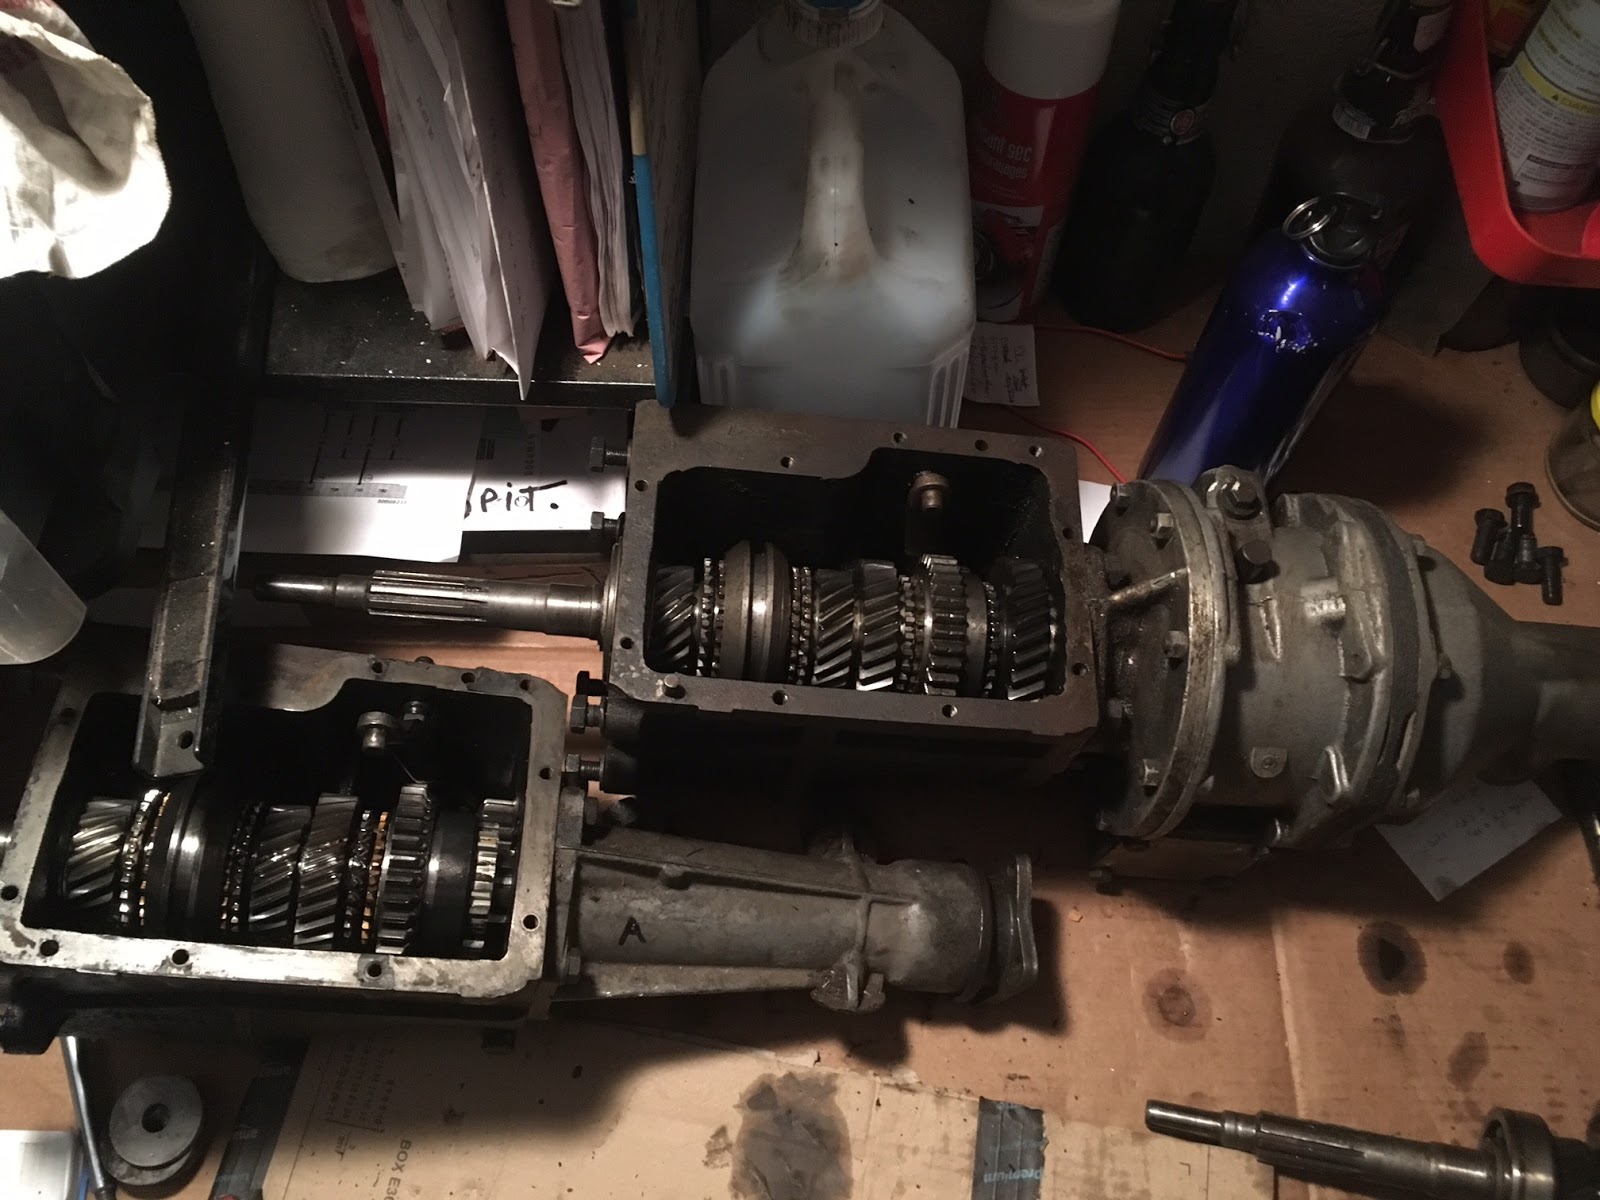
I had bought the gearbox and overdrive second hand, so I had 2 other spare gearbox, the original one from the car and the one from my parts car.

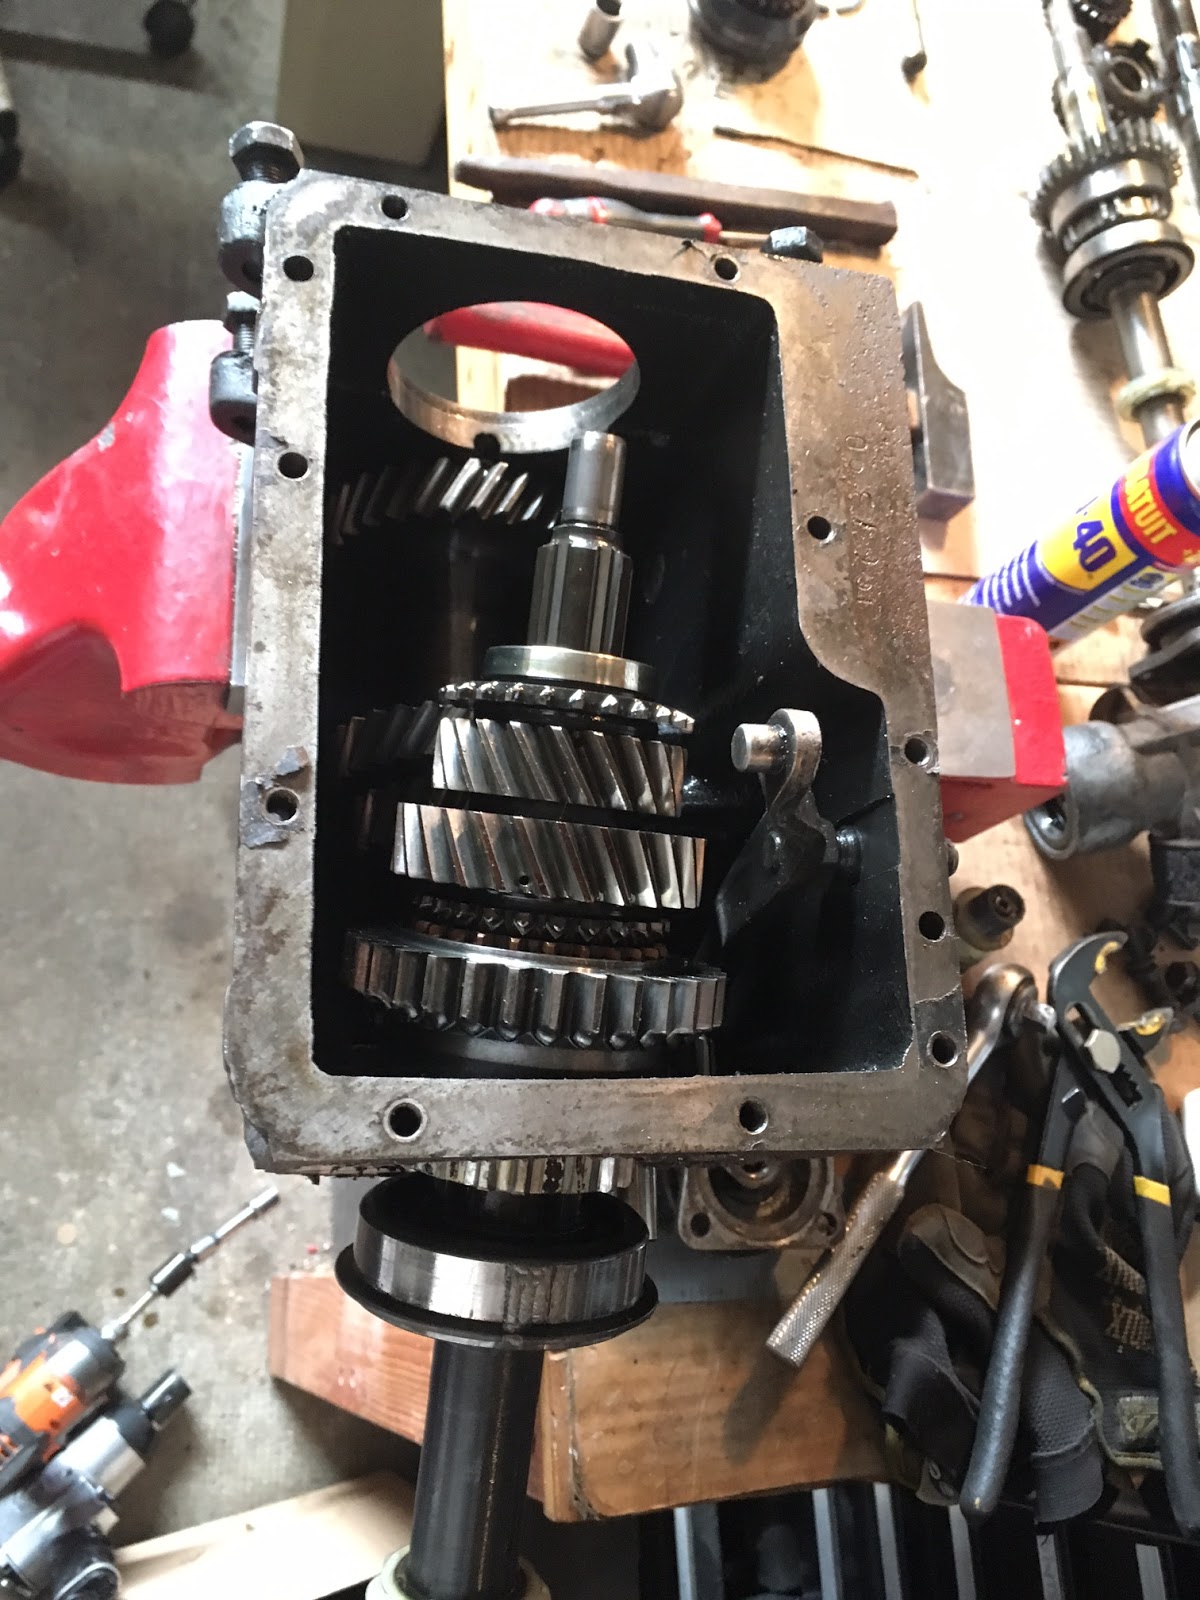
I was hoping to be able to swap the internals out, but as we can see from the photo below, they were not exactly the same.


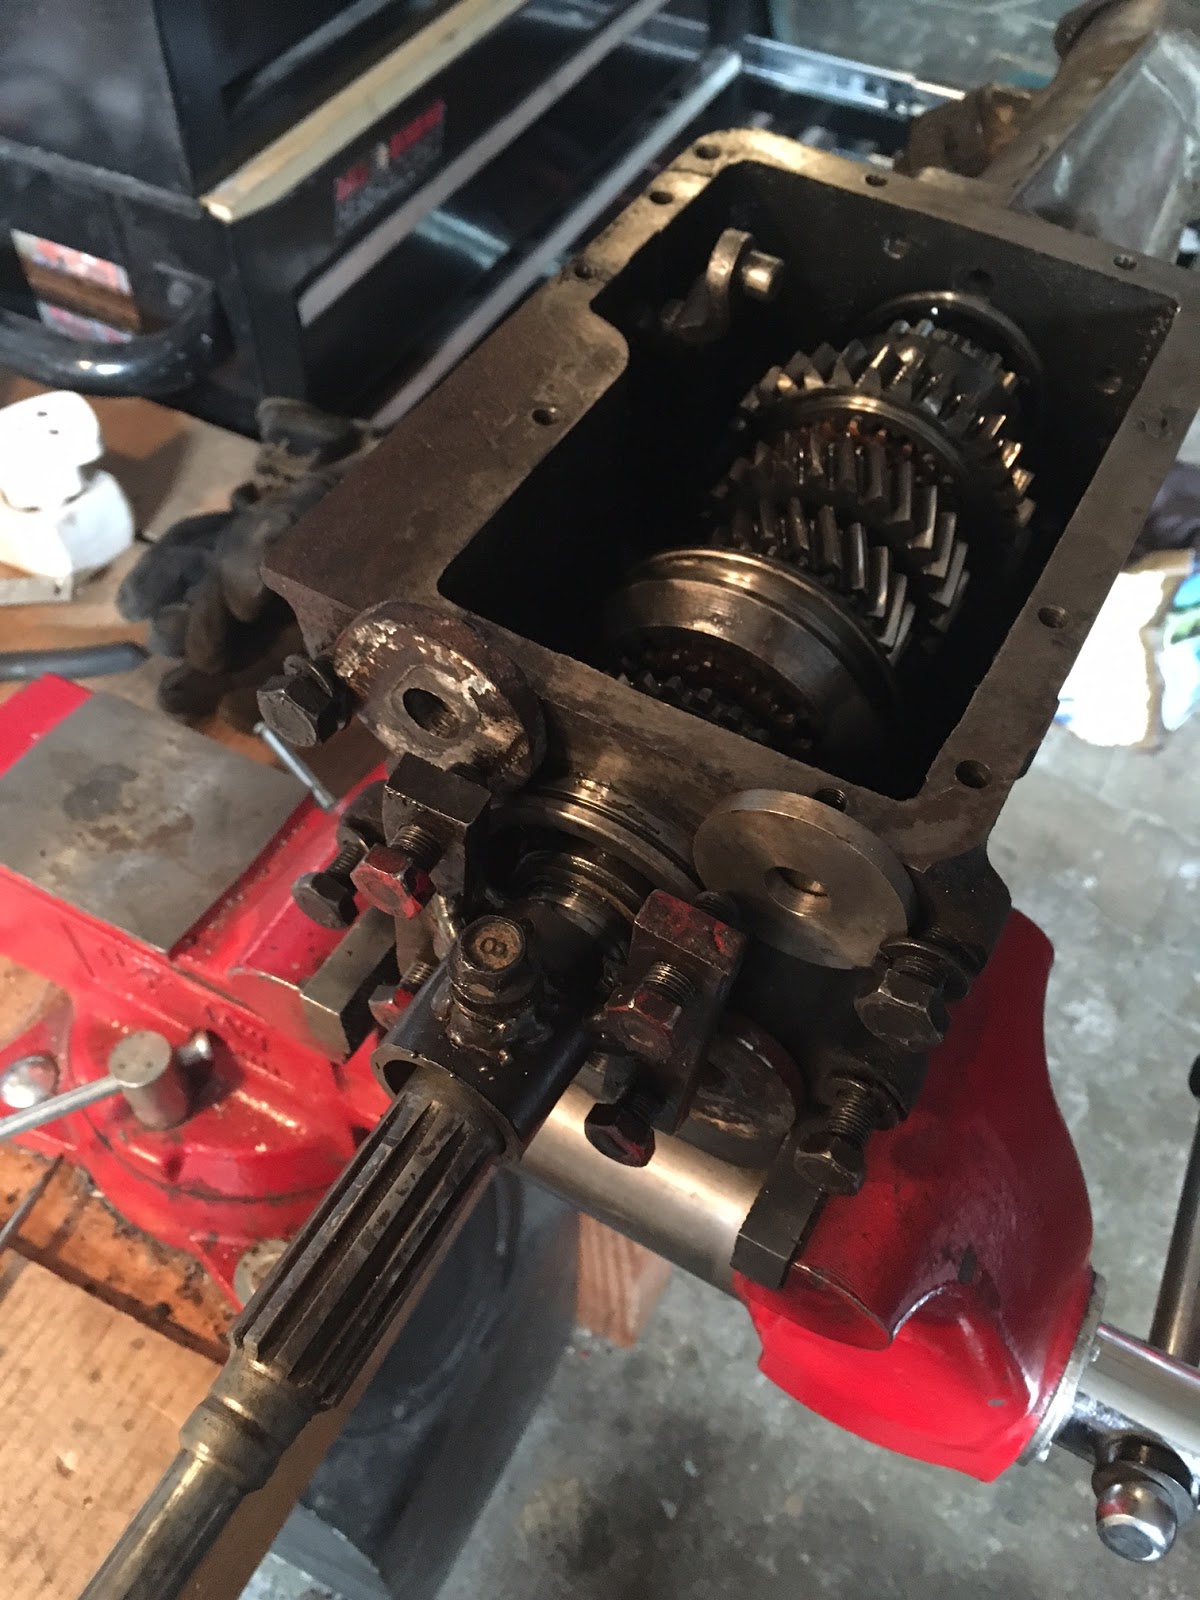
Trying to recall what it took to open the box up, there are 2 tricky parts :

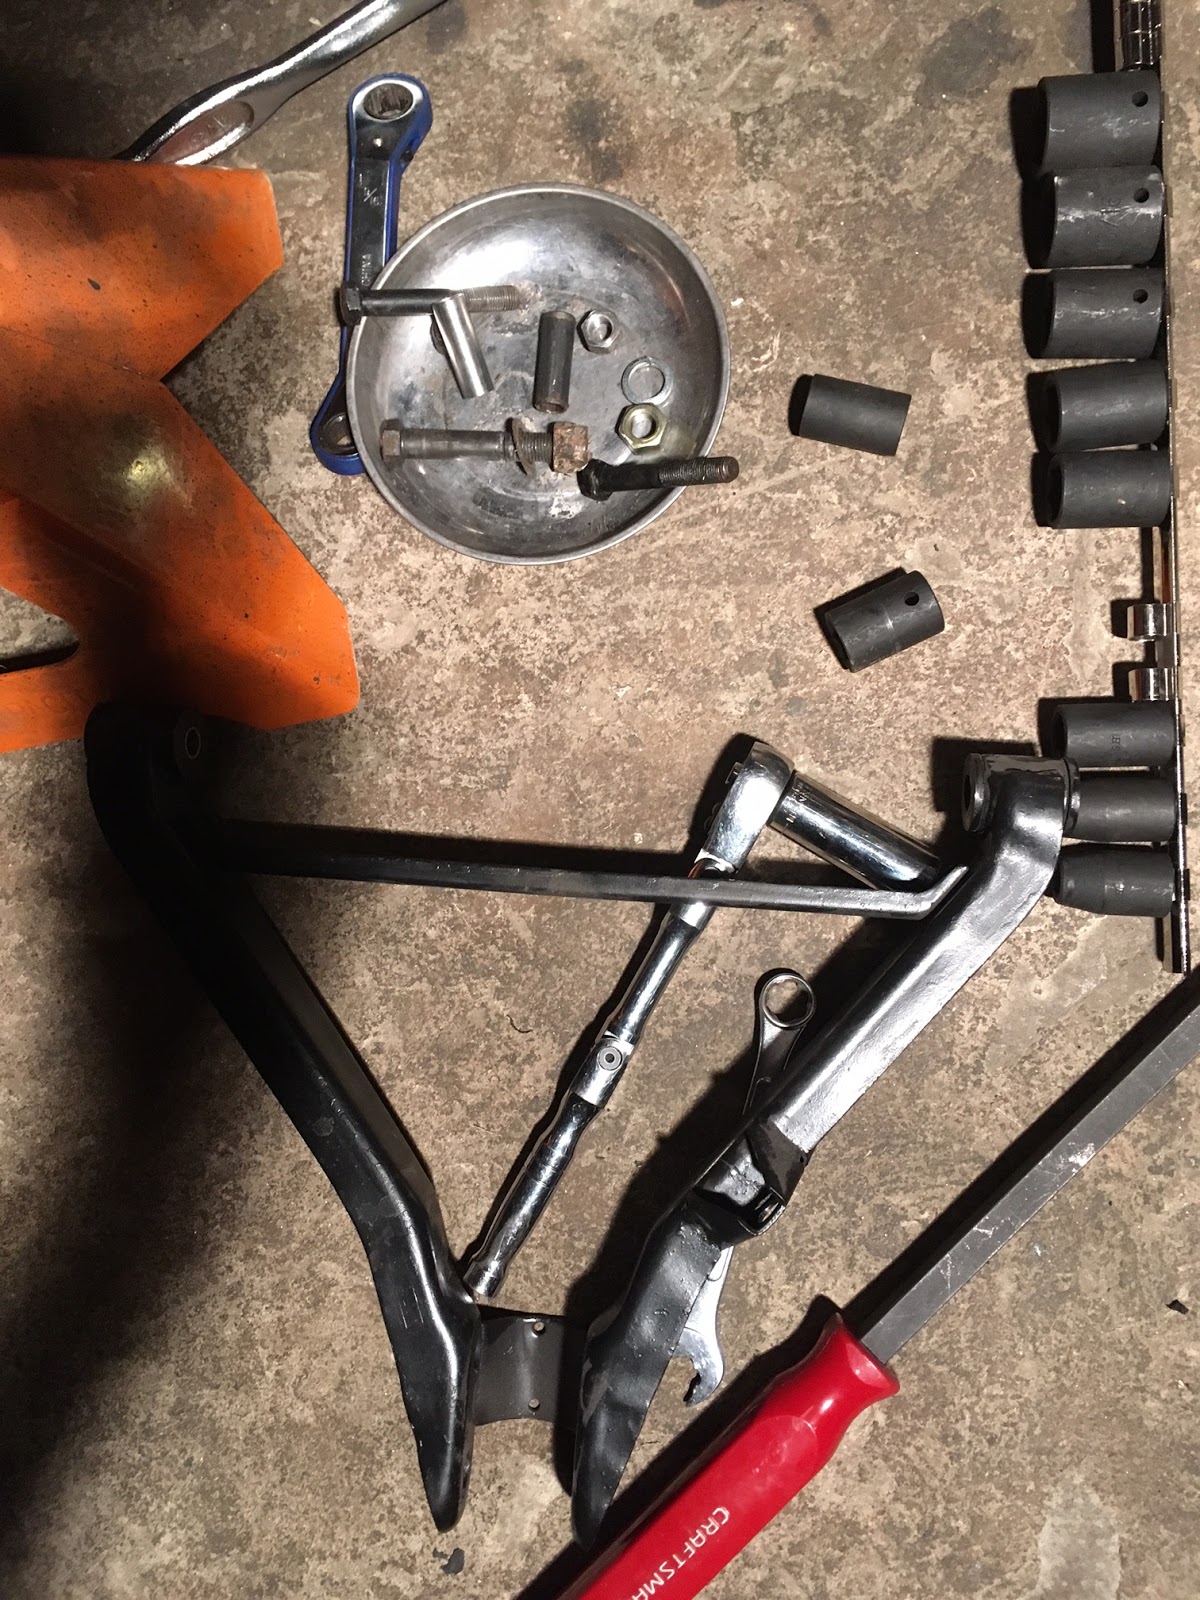
tricky part 1 : pulling the bearing out, see photo below you can use a small punch or build something like that

After that you slide and incline the main shaft to start getting the gears out. Keep everything in order !


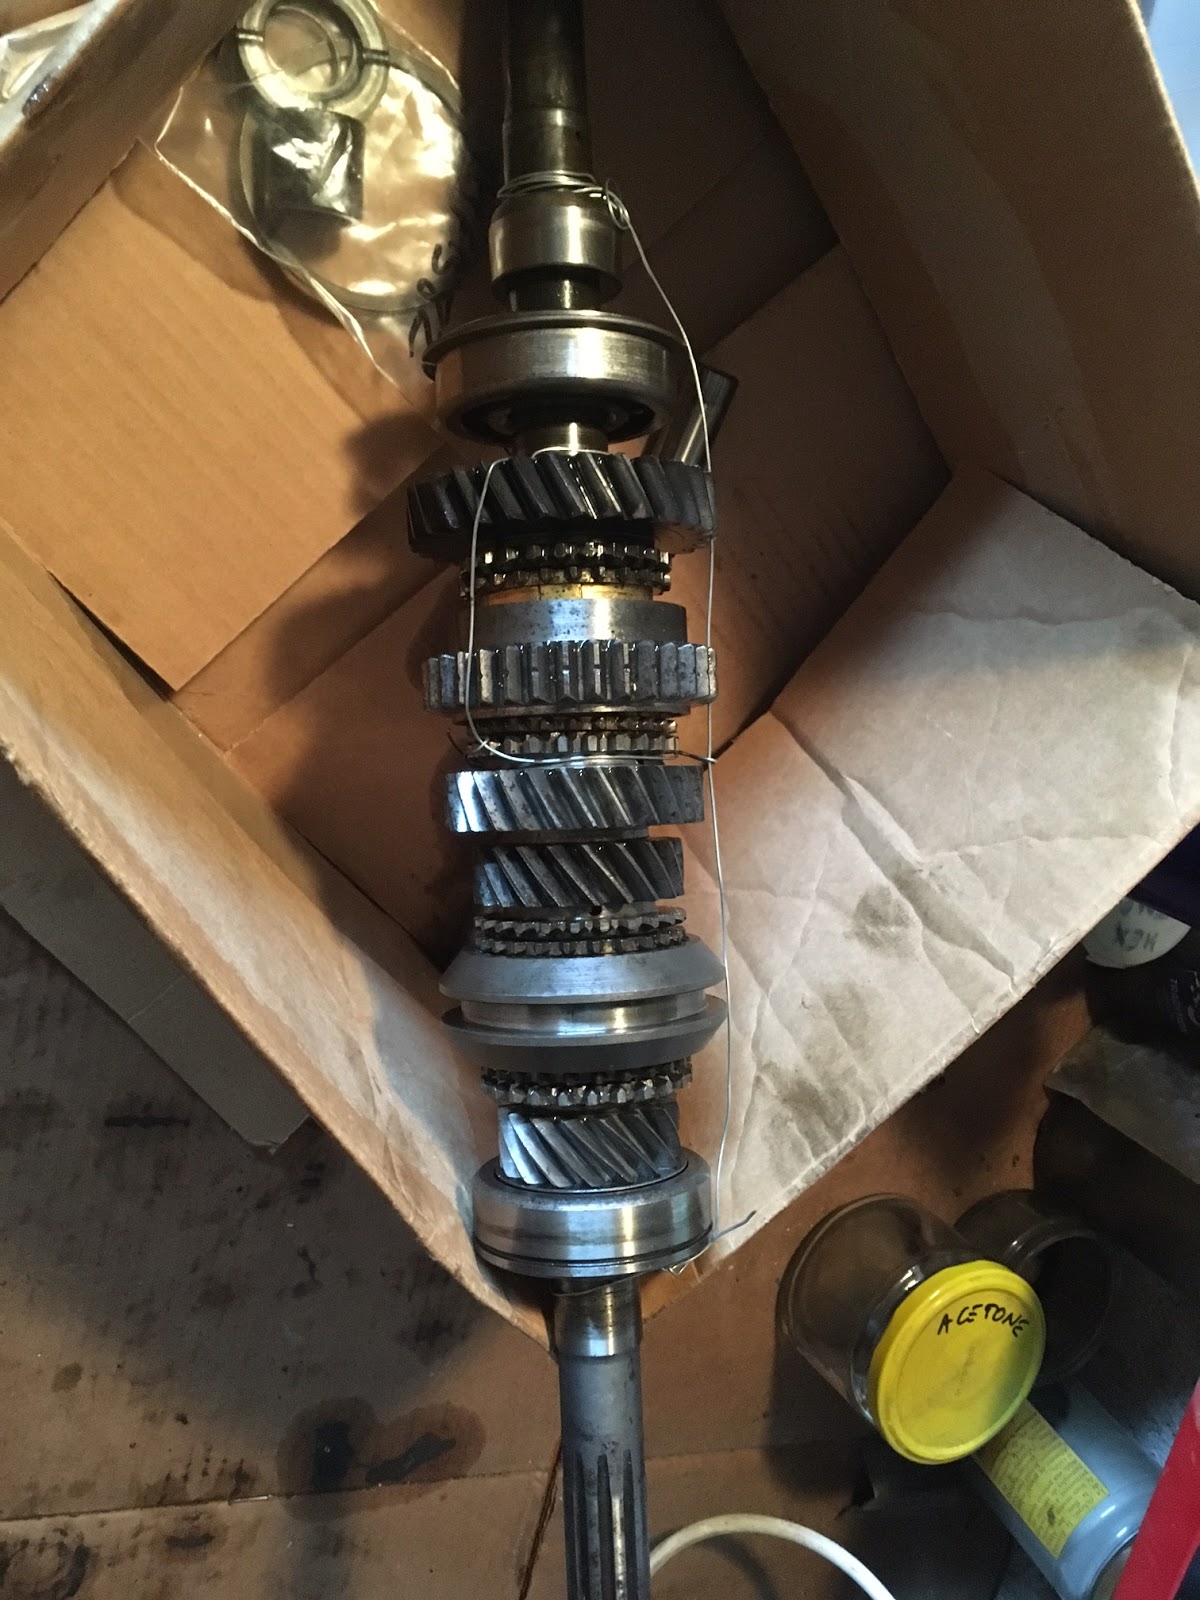
tricky part 2 : trying to keep the needles inside the secondary shaft. Something was mentioned in the manual but I did not really understand why and where the needles were. See photo below, you see the shaft and the needles in the white cap. The trick is to insert a tube same length as the gear shaft while you take the real shaft out. If you fail to do this (like I did :-) ) you will wonder why there are needles at the bootom of the gearbox. If it does happen, make sure you don't lose any and are good for putting them back in one by one with grease. Not willing to sacrifice an old shaft, admire my temporary shaft made from an old broken nordic ski pole of the perfect diameter.


Once everything dismantled I was perfectly able to put everything back together but did not really know what is acceptable play or not to have a good working gearbox as well not 100% sure how it worked. I reached out to local French club "Rhone Alpes Spitfire" who put me in touch with Jean Louis, super nice guy with tons of spitfire experience. So one day I drove (2H) to go see hime and get a better understanding.

I put the parts back together held by wire and loaded them in my wife's car.


We looked at it on his workbench. It was great to talk face to face with someone with so much knowledge and he gave me plenty of advice. Most importantly he reassured me that this is not rocket science, just need to take it slow and think.


 Once back home I methodically dismantled the 3 gearbox to get the best parts.


Mostly my problems were coming from 2 things :
- 1 ball and spring missing
- bronze bushings such as the one below completely worn out hence tons of play that lead to further issues.


Yes, you don't want to wait too long on these kind of jobs so you don't forget what goes where !


Finally it was back together on the bench and everything felt super tight !


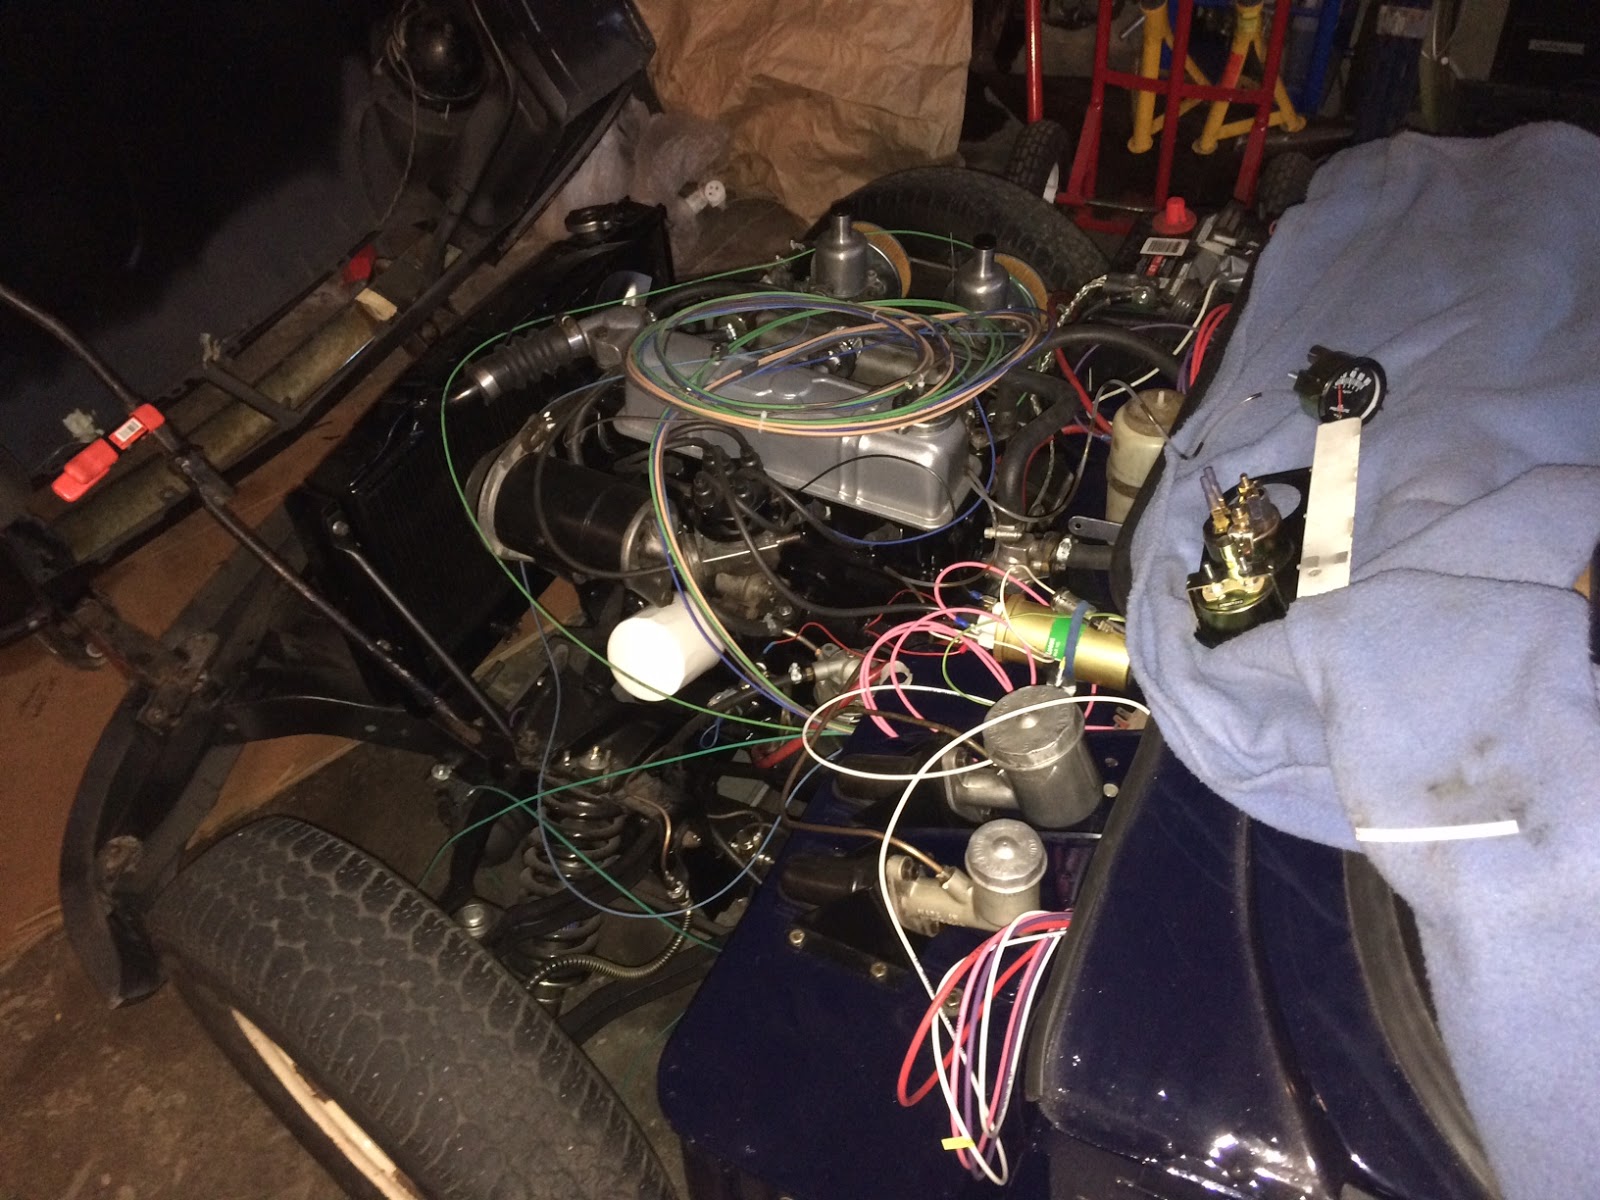
Coupled the gearbox back with the engine

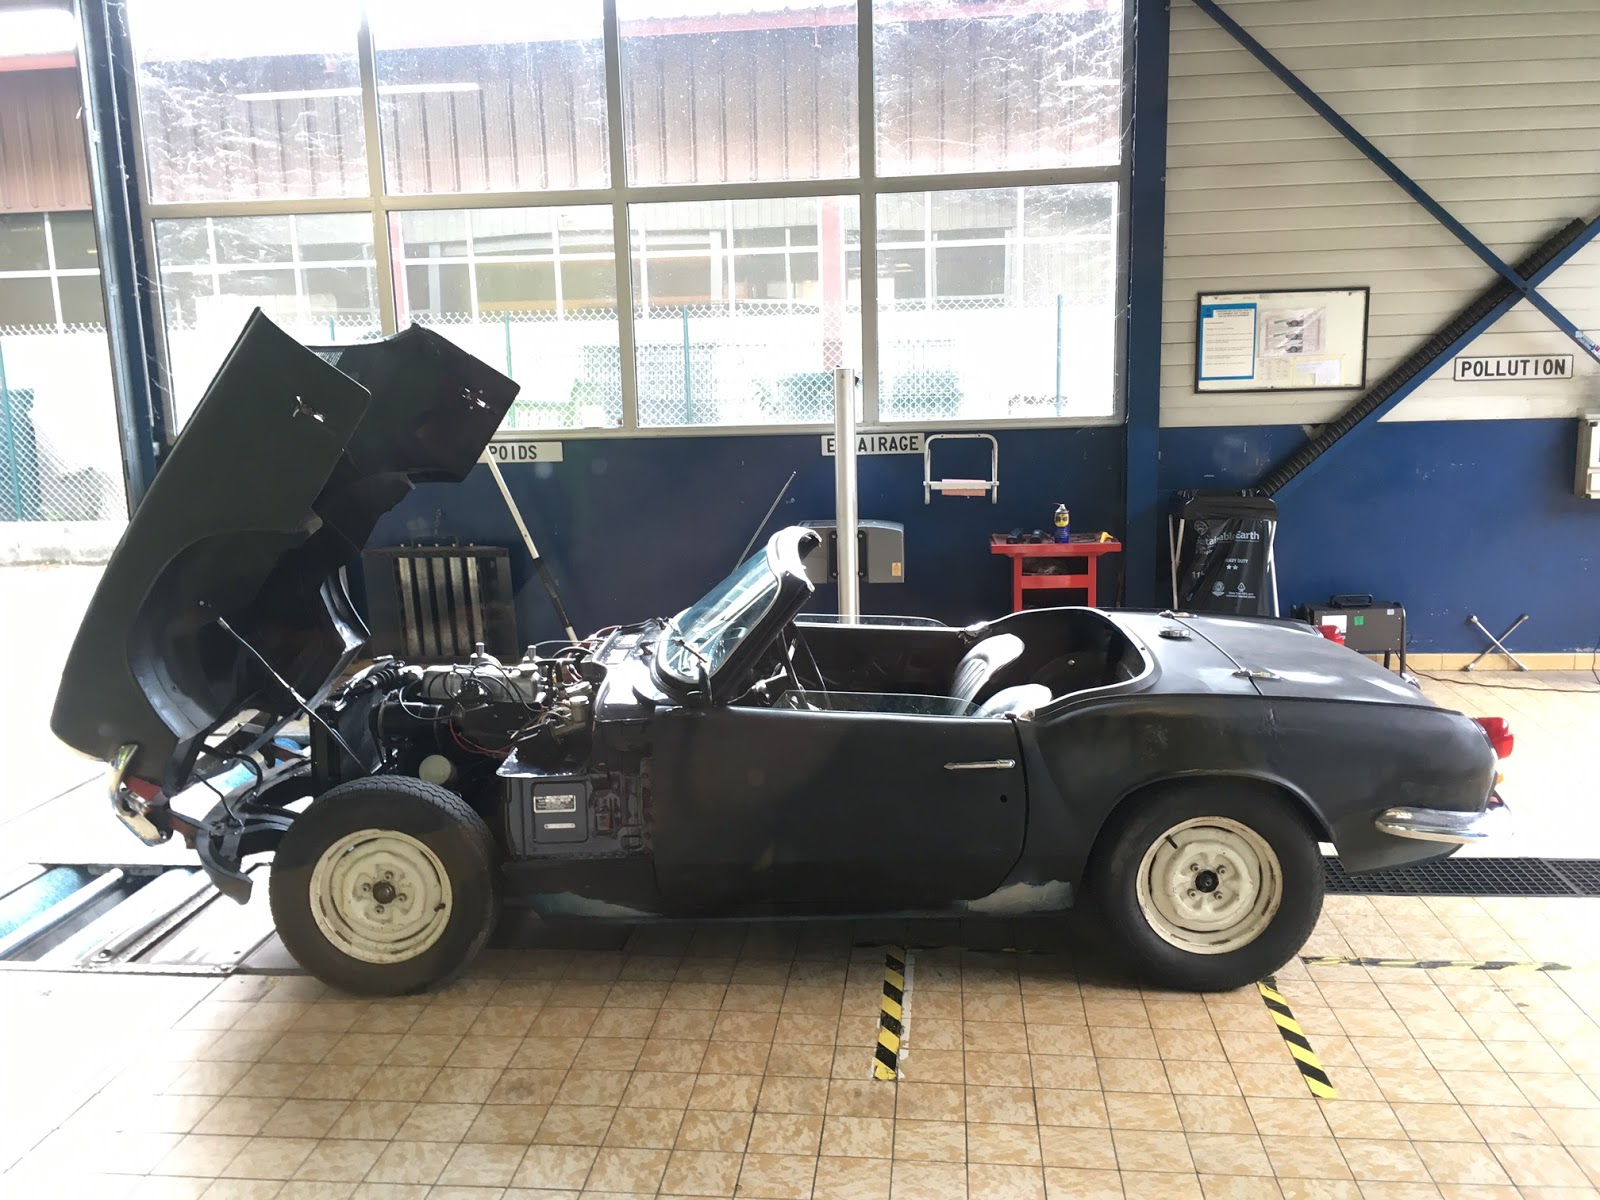
Fit back inside the car and pray !

In the end I did not have to buy a single spare part for this rebuild but almost everything is available for the usual resellers.

This took me a long time and effort but am so happy it works and can now enjoy third gear ! I hope this will help fellow enthusiasts to do the same rather than see this as a mystery black box.


Spitfire "Controle technique"

This one goes back to one year ago - September 2016

With temporary insurance and after double checking everything works I was ready to drive to the french emissions test. They are pretty strict in France, you are not allowed to modify your vehicle in any way.

Funny part, I stalled a few times on the way and even during the test.
Luckily I was able to peak in the engines and found that the carb jets were stuck on choke


Fully legal (just missing front number plate) I was able to drive 10 min away from home.
It confirms that missing the third gear makes the car too annoying to drive. Kind of daunting but after checking the gear linkage it looks it comes from inside the gearbox. Doesn't matter still happy to start driving !


We found a passenger that likes this little car !

Spitfire play in suspension bushes

It is raining this saturday afternoon, a good time to catch up on blog uodates. Been silent for over a year but a lot got done !

This one goes back to August 2016. 
After adjusting the play on front bearings I still had more play that I was willing to accept on the front passenger side.

After much investigation I discovered it came from the metal part of the bushes. Had no choice put to replace with the original onces (cleaned up of course). 

Moral of the story, because it's new doesn't mean it's better. Always check your new parts.


Tuesday, August 30, 2016

First time driving on the road

I got a few strange looks as I drove the car to the gas station !
SP98, only the best for little spitfire.

Was able to do this as it is now insured, they give me 4 months to show French paperwork. Yeeeaaah !

Thursday, May 26, 2016

Spitfire windshield install

The windshield is in !
Huge milestone and big thanks to my friend Bruno who helped installing.

My 3 step process is different than what we normally see on Triumph forums so I'd like to share :

1. When the rubber has been stored in a loop for several years it is not that easy to install around the windshield and make it stay. So we installed it then kept it in place for a few weeks with the help of rope and bungee cord. Did the same with the "metal" strip.

2. No rope technique here. Apply plenty of soapy water and position slowly. Used a 90 degree bend screwdriver to slowly pull the lip on the inside of the frame. The outside lip is easy and can be done by hand. Slowly go round and it will pop in place.

3. Push in the "metal" strip now while everything is fresh.

Et Voila !

Sunday, May 1, 2016

Triumph spitfire speedometer and tachometer repair

I have had the dash cluster ready for a while and after installing the right cable for speedo and tacho I decided it was best to give them a try and horror, the needles were moving left and right, they looked dead. My test system was an old cable and the electric drill. A quick internet search made me realize these are pricey.

I had to open them but in my opinion the toughest part was to remove the needle. It is forced or glued in there so I had to build the mini extractor you can see below whith 2 screws that push on the speedo screws underneath. 


It kind of looked like that. Prepare a clean workbench, clean fingers, photos and memory to remember where all these little screws go


Luckily I had 2 of each and scavenged the best parts form each one to make one. The tachometer is the easiest to fix and I recommend fixiing this one first. The speedo has little plastic wheels on the side that tend to break with age and will jam the main axle.


 I found that the main problem was the same on all of them. Over time, play develops and the magnet part ends up touching the disc that moves the needle. It is what creates this "jumping" effect on the needle. In the end it was a super easy fix pictured below, just need to make it tight again by pushing the magnet part against the ring, using the vice.


A lot more moving parts in the speedometer pictured below. Moved the mileage while I was at it, to reset it close to 0 from the restoration since everything that moves is new on that car and since I am not 100% sure what was the real mileage on the car.


Painted the outside case while I was at it and "voila" ! Tried the fuel and water temp and they seem fine. A new fancy cluster ready to hit the road !


Sunday, April 17, 2016

Ignition key fun

I think the picture below is better than words. And this is why you don't buy cheap key barrel...

In the end i put the old one back in and will get a new key cut. At least it was a good opportunity to completely dismantle the switch and clean the contacts.

Tuesday, April 12, 2016

Spitfire manifold

I knew i had a crack in the manifold. My plan was to weld it using the bbq to heat up and cool down and pneumatic hamer on the weld technique.

Anyway... renoved it to realize it was broken in half. Luckily i had a spare one i had to adapt a little bit to fit.
That will do till i get a nice ss exhaust.

One step closer, yeeeaaaah !

Monday, March 14, 2016

Rebuilding the entire electric harness and fusebox for the spitfire

Looking at my old harness it was clearly too old as many wires were cracked, and some melted. I agreed as well that 3 fuse as on standard Triumph of this era is not much. It seemed a shame to have everything new inside and then risk an electric fire or the car be unreliable because of poor electrics.
As well there had been considerable hacking by previous owners.

So I decided to put all new wires and a modern fusebox unit. After some research I found that the 9+3 kit from Rebel wire would be a good compromise of price and quality.
Ordered mine from here in the UK, these guys were really nice.

It took me a while to understand how it works but once you understand the concept you're good to go.
It is nice because the kit comes with high quality wires that are heat resistant, much better quality than the originals and will for sure last my lifetime. Had to call tech support to understand how to adapt for Europe and support was really friendly and helpful.

See below a lot of the wire laid out ready to go to the engine bay and lights.

I wanted the fuses to be inside to keep an original look, so I mounted them on a hinged bracket that I made with a screw on lock (a bolt with a bar welded on).

It looks like this when you remove the screw lock, easily accessible.

Now, onto wiring and soldering !

Friday, February 5, 2016

Sorting through sealed beam units for the spitfire

Didn't know know these existed till i had this car. The glass and light bulb are one unit.

I had some spares and had to try them all to figures out which ones work and don't. Some had only high pr low beam. Success, out of 6, 3 work so no new purchase needed !
Note the wiring of the bulb from the photo.

I had to order indicators though as in France can't have lights and indicator be the same bulb.

Sunday, January 31, 2016

Engine break in video

Finally it's running !

An attempt at fixing the spitfire heater valve

As I filled the radiator with coolant liquid, within a few days it was leaking everywhere : Hoses, block drain tap, water pump and heater valve.

I had spares for all of these which seem to work ok but my spare valves were leaking too.

Here is what it looked like, the water was coming out the bottom.


They are pretty easy to open, you have to drill the rivet out, then you can twist the top part. It's a shame it's all relying on one piece of rubber that eventually get hard and brittle and that they don't sell just this part as replacement.


It can be completely dismantled and cleaned which is what I did followed by clear coat. However I don't recommend dismantling the bottom part if it's moving freely because there is a spring in there and it can lead to swear words trying to hold hold it compressed while put the clip back on.

So what I did is I cut a piece of rubber out of an old bike inner tube to a slightly smaller diameter and placed it on top of the worn out rubber part. 


What it looks like now, shiny ! Ready for another 40 years ? We'll see... 


Thursday, January 7, 2016

Getting the spitfire ready for first start

Last sprint to get everything ready for a first start !

- Gas : gravity fed by a bottle connected to the hood.
- Oil : Got a temporary oil pressure gage (you can see it on the right) and a light bulb connected to the low oil pressure switch.
- Ignition : got a manual temporary switch installed, manually set timing to fire a bit before TDC

All systems check, ready to go ! Next step : run it for 20 minutes to break in the all new engine and camshaft then drive round the block !

Sunday, December 6, 2015

Putting oil in the spitfire gearbox and overdrive

Tonight filled up the gearbox in preparation for the (soon to be I hope) first drive.

There's square plug on the side where to fill from until it overflows. Used a funnel and small tube, long process.

Had done some internet research last year and decided to go with 30 motor oil oil non detergent.

One step closer !

Tuesday, October 27, 2015

Spitfire water pump and valve gaps

So...

Now that I tidied my new garage and found all the spitfire parts, for the past 2 months I have been working on the car when I had a bit of time. Slow progress as I had a major work (5 full days) on an other car replacing the V8 engine this summer (quite a story...) and I always have to do a few things to my 1985 daily driver.

Basically the goal is to be able to start the engine and drive round the block asap.

It will probably not be perfect but now I feel it is more important to get it going and I will continue slowly but at least have a fun car to take out.

Completely cleaned and painted the water pump and fan and installed the radiator


Then set the valve gaps to the correct values


The engine bay is starting to look like it should. Exciting, more photos soon !

Saturday, October 3, 2015

Time flies

A lot of time went by since this happened.


The spitfire was delivered in France in a container in April 2014. It had to go from the container to truck then down on the pavement. I looked and looked for these photos but just remembered my phone crashed around that time causing the loss of the photos.

Not much was done to the car since we moved an other time to a place with a bigger garage (yeah !) and then I had to do some fixes on our 2 daily cars.
However I now finally sorted all my parts and ready to make some progress!

Thursday, February 27, 2014

Spitfire gets on a boat

This post is 2 weeks overdue.
As maybe you could tell i had some serious fire under my &$$ to get this project moving !

Reason is we are moving from the US to France and spitfire is coming with us. Engine is in ready to be setup once on the other side of the atlantic.
It's been manic and i'll be happy to start again in a few weeks, full of energy.

Thursday, February 6, 2014

Did I mention massive progress ?

A picture will speak better than words. Notice the freshly painted engine in the foreground.

Big thanks to Ben and Thomas for helping push through this week !