Monday, December 26, 2011

Won't run

So I could not get the engine to run this week end !
Plugs were pretty black from last week's run, I removed the carbs and adjusted the butterfly on one of them as it was always letting air leak through making the adjustment impossible.

Now I redid the advance setup as 6 BTDC static but I am wondering if the little hole on the pulley stands for TDC or 6deg BTDC ?
Can't get the engine to run and have suspicions around the whole ignition system since the plugs usually smell of gas when I take them out. And the plugs I was using are nit the correct type.

Next steps :
- New plugs (champion 9YC), rotor, distrib cap and coil
- or maybe a genius idea
-  start to sort out the dashboard or do some bodywork to take my mind of this crazy engine start issue. Bodywork therapy !

Sunday, December 11, 2011

Engine ran tonight

So i did a few things and got the engine to run for 30 minutes :

- cleaned the plugs

- redid the setup for the timing and breaker gap, one of these is probably what helped although the tachmeter I bought is giving erronous readings so it's tough to check correctly. But at least i have the stroboscopic light and i can take readings. From unplugging the vacuum tube it looks like both the weight and vacuum advance are working. I am reading 28 degres on the flywheel at around 2 or 3000 rpm, is that too much ?

- After much time trying to start with every combination of the chocke I could finally get the engine to start properly and move on to try to setup the carbs a bit better and that's where i could not make sense out of it anymore.
First my idle is high and on the left side even with the idle screw out it was still high. So i wonder if that's due to an air leak or the mixture ?
Then adjusting the jet nut on the left side made no sense, whatever i did (tighten or losen) the engine would still slow down when i lifted the pot.

At least when warm the engine would not die anymore like it used to when i accelerate.

Got a few actions to do this week :
- ask the excellent triumph experience forum for some ideas
- looks at the plugs, between the front or back ones and see if some are black
- see if the engine starts easy like it did when it was warm.

There is hope !

Sunday, November 27, 2011

Choke cable and start

Well it's been almost 2 months since I last made progress, not easy to restore a car when you have a newborn at home !
Luckily i have an understanding wife and it will just get easier from now.

So this week end I installed the new choke cable that i ordered a while back. It has an upgraded design where you have to twist to release but unfortunately the knob from the old one cant be put on that one, so i ll have to order that. Hopefully it looks like the old one to keep the original look.

Then my goal was to start the car and finally test these new brakes. Starting was noooot easy..... So here is what i ended up doing to get it to finally start :
- cleaned all plugs, they were black but it looked more like oil. I wont rush to conclusions on that one because i still havent had the chance to rev that engine properly while taking the car out and drive more than 5 minutes.
- replaced the ht coil flat connectors
- check compressions, 150 on all cylinders, at least that sounds like good news.
- cleaned the top part of the distributor so it can move more freely.

So i managed to start after many attempts but that took a while plus at the beginning the engine would die as soon as i accelerate. I believe this could be due in part to a poorly adjusted timing so I guess I ll have to buy one of these stroboscopic lights.

Next steps : get the engine running better, get out of the garage (finally !) and test the brakes then work on battery charging circuit.

Sunday, September 25, 2011

handbrake work


The new homemade guide next to the old one. This is a temporary fix, just need to tac weld in place for now.

Monday, September 19, 2011

Mk3 handbrake


Need to get the handbrake working perfect as this will be the only safety if the single line hydraulic brakes come to fail.

In the center of the photo the cable is supposed to slide through a metal guide. On mine it is completely smashed on one side so I ll have to make a temporary one until the frame is off the car and I have easier access.

I must be must be due to a UJ failure in the past as there are half shaft rubbing marks on the chassis ! Glad I wasn't in the car at that time :)

Saturday, September 17, 2011

Spitfire rear brakes installation

New rear brakes are installed and ready to be adjusted.


 Of course the adjuster was seized but it is now moving freely after a good cleanup


Now I highly recommend the tools below. They can be found cheap and they'll avoid you a nervous breakdown trying to place parts and compress springs at the same time.

Sunday, September 11, 2011

Starting on the rear brakes


A well placed blow with my preferred mallet, the cover is off. The impact gun to undo the brake hose from the bracket.

Ah ! Don't you love it when you get to use your preferred tools ?

Monday, September 5, 2011

Rebuilt Caliper


Finally finished rebuilding one complete caliper. Second one will be much faster now that I just have to replicate.

I was getting rather aggravated while trying to put the metal clio around the rubber piston boot especially as I had to be extremely careful not to damage it so I modified an old pair of pliers I had to install, welded one small washer on each side and that worked really nice.

First attempt at powder coating today. That's the part at the bottom of the photo, I still have a lot to learn about covering with just the right amount of powder. Not enough powder then I changed the settings and a big cloud came out...

Saturday, September 3, 2011

Darling what did you put in our oven !??!!!

Luckily for my life I now have my own oven in the garage :-) Pretty happy with my $20 find.

Caliper is curing and oven will be perfect to powder coat I hope. Tomorrow I ll try my first part.

Caliper paint


Finally went down the easy route of caliper special paint.
As usual the most annoying part was the cleaning and prep.
Next : Install the new shiny pistons and rebuild kit !

As well I was worried that with powder coating the paint might sneak into places I dont want it to be and I didn't want this caliper to be my first attempt at powder coating

Tuesday, August 30, 2011

Clutch pedal connexion


Same problem with the clutch pedal, the hole is not round anymore ! More welding required yeehah

As well I am wondering if there's supposed to be some sort of recall spring ? There's one on the brake pedal but not on the clutch

Sunday, August 28, 2011

Master cylinder overhaul triumph spitfire mk3


So I finally got the right kit. Actually it is the same for the brake and the clutch master cylinder.
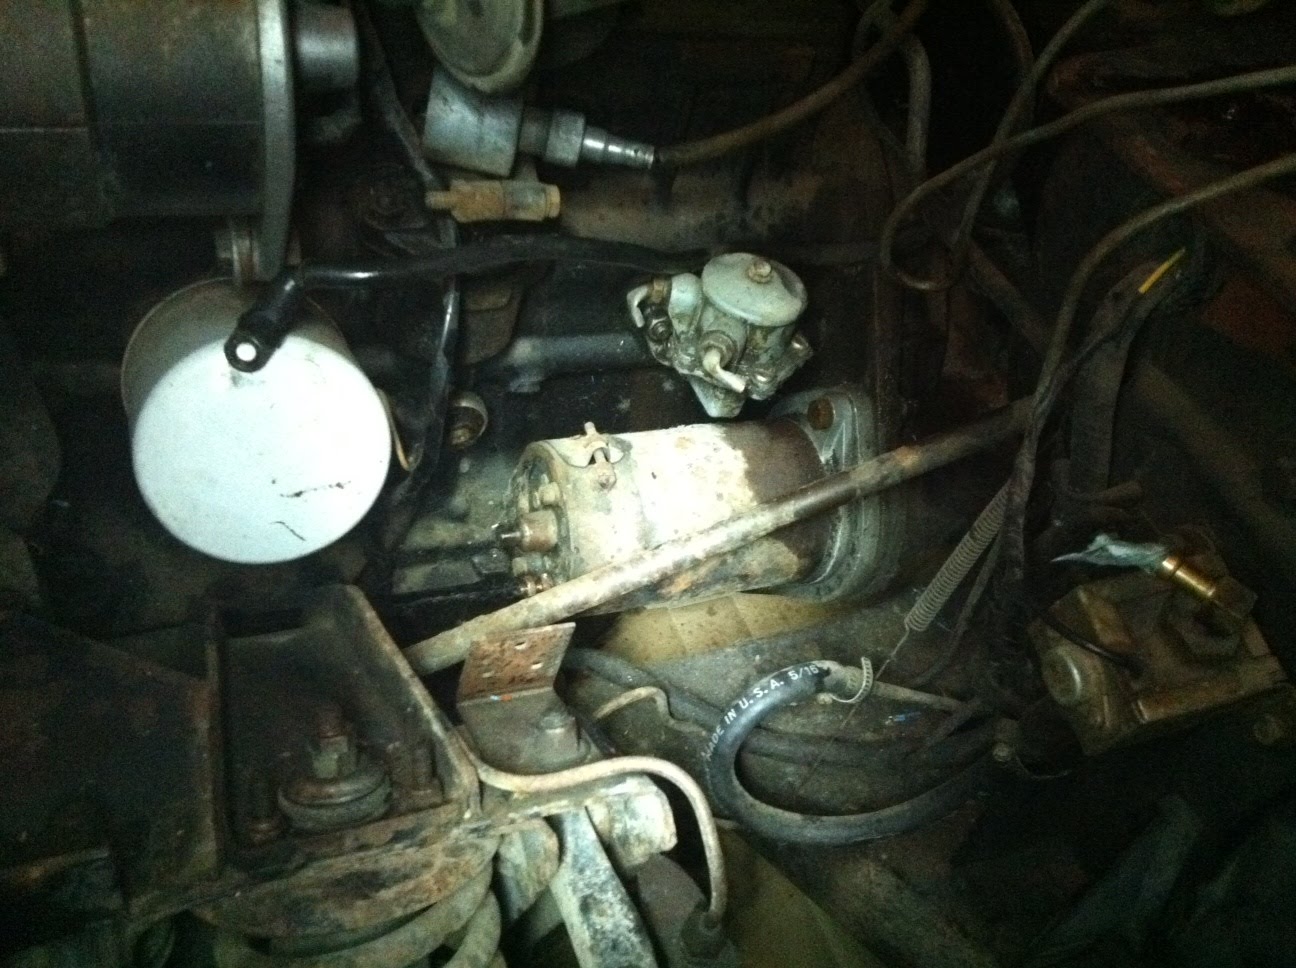
Below is photo of the assembly before replacing the rubbers.


Cleaned everything really well, put some of the red grease supplied on the rubber, and some dot5 liquid inside the cilinder before re-assembly.

Below are the 2 master cylinders ready to go !


Now I noticed that the brake connecting pin was completely worn out from years of operations. It is worth getting new ones as they are only a few $. However the bracket has worn out too !

I am going to attempt to fill the gap with a nice weld and re-drill


That worked pretty on the first one, on the second I didn't drill straight. Oh well, will need to re-weld and re-drill.I wonder if that will hold and if the pin will wear first.


Last thing, actually I found that was the most difficult : Putting the end rubber protection back on. The hole is tiny and I wondered how on earth you can fit that big washer through it. Especially as the previous one had a crack from the center probably from a failed attempt.

Well amazingly it does fit through without breaking. I greased the rubber with that same red grease and pushed the head and the washer together first but pushing one side of the washer through first. Couldn't take a photo as you will need both hands.


Next step : Brake calipers. But before replacing the rubbers and the cylinders, I am wondering if I want to powder coat them ?

Monday, August 15, 2011

Brake master cylinder repair

Plan is to renew anything plastic or rubber in the braking system, clean all and the opportunity to upgrade to DOT5 and say goodbye to paint damage from brake liquid spills.
I red as well that Dot 5 doesn't collect moisture so that sounds great too.

From looking inside the brake master cylinder it was well needed. Bad news is I need new brake pistons.

Found it difficult to get the piston out of the brake master cylinder because it really fell like something was holding it inside but no way to get to it. Here is the procedure :
1. Remove the circlip at the end
2. Tap on newspaper to get the piston out or like I did get a bit of compressed air to help. Be careful it can really transform into a projectile.

Once out I realize that none of these rings seem to be the right size. I ordered the "fit most mk3 kit" stupid me, probably due to the fact that I have an early mk3 I have a single line brake circuit so I will need to order a different kit.

I think they must be starting to like me a lot where I order my parts :-)
For now, vacation and will continue when I return.

Saturday, August 13, 2011

Sunday, August 7, 2011

Gearbox oil

Replaced the old gearbox oil, took out around 0.5l when 0.85 is supposed to be there. The gears shift better now...

While I was at it reinstalled the restored wiper motor and steering wheel and went for a short ride. Engine lacks power at time, better tuning is needed, to be continued. Next big thing on list, brakes ?

Sunday, July 31, 2011

Spitfire restoration steering wheel

Welded the little bars back on the outside and filled and painted >> one shiny steering wheel. Not looking as good as I was hoping but that will do for now.

Cleaned and painted the wiper motor while I was at it.

Steering wheel before the week end

Spokes are broken on right and left side

Monday, July 25, 2011

SU Carburetors like new

This time I had all I need...


The new parts I needed were mostly :
- the rubber holding the tank in place as I noticed they hold the tank at the right position and when it's in the wrong position the choke moving mecanism jams
- the butterfly shaft as they were really badly worn and surely creating a leak. The wear is impressive


Was exciting to put it all back together, I was worried I might forget what goes where and I did have to dismantle several times after I put back together as I did some steps in the wrong order.

I cleaned them best I could and they look really nice now. Notice on the left the bag of parts that have been replaced, even the needle is new.


Moment of excitement as I install these back on the car. Refilled the inside of the pots with 20/50 engine oil. Did some basic tuning, not sure how good that is but that will have to do for now. Looks so good and the engine runs weh eh !

I used the following technique to tune, from an article I found on classic car magazine uk. Thanks to them, that got me started and I found it simple to understand.


Friday, July 15, 2011

Sunset on carb parts

Unfortunately I won't be able to finish this week end because I realized there are additional worn parts that I need to replace as well : the butterfly shaft and the grommet connecting the chamber as it allows it to move causing the choke tube to stick.

To be continued in a few days...

Thursday, July 14, 2011

Carbs rebuild

Second time off but this time with the carb rebuild kit. Lets hope i have the correct needles.

Monday, June 13, 2011

Driven !

Gas tank is back on and I could take an other drive around the block this weekend.

Saturday, June 4, 2011

Gas tank


Cleaning out the tank so i can use it and stop messing with small amounts to make the engine run

Sunday, May 22, 2011

We have a runner !


Sometimes it helps, 2 heads scratching at the same time. My dad is here on vacation for a few weeks and gave me a hand. What did we do really ? I had realigned the timing, then new spark plugs, news leads and she ran ! So excited, tried to put back the radiator as fast as possible to go for a drive !

The car drove to the next block and back. Quite fun and the engine seems to be working fine although it does idle really high.
Something strange though, it's difficult to put the car in reverse and first gear, sounds like gears grinding together, I know there's no synchro in these 2 gears so that might normal ?

Saturday, May 14, 2011

Friday, May 6, 2011

Title application

No photo for an exciting news but went to the DMV yesterday and they accepted my application for a title for the car. That + sales tax I had to part of $60 but eh that's not bad, fingers crossed I should receive the title in the mail next week, important step for the project !

Sunday, May 1, 2011

Rocker cover

Am still thinking about what could stop the engine from starting. Head scratch time.

At least I managed to take the cam cover off using razor blades.
Not very dirty in there and there some bolts that don't look original, so the engine might have been rebuilt before. Not sure if that's a good or bad news...

Carbs clean

Received the rebuilt starter, couldn't wait. Now back to square, it doesn't start. Opened and cleaned the carbs as a lot was stuck in there.

Now still no luck starting grrrr. Plugs seem to receive gas, I have spark and then checked compression in cylinder 4 good. Hum need to think about all this...

Saturday, April 23, 2011

New starter

Frustrating ... Spent a few hours cleaning that starter motor top to bottom to realize that it's shorting somewhere.
Next week's vacation will give the new one time to ship


And check out my electrolyze de-rust setup :-)

Wednesday, April 20, 2011

Grinding noise

Hoping the noise is due to a stuck starter motor gear. Let's take it off.
PS : testing the post on blog from email feature really :-)

Edit : After taking it off, the noise is due to a stuck motor gear wouhou ! Will look at this tomorrow.

Tuesday, April 19, 2011

Engine prep


Tonight more engine prep work, put oil in the cylinders, bought a cheap battery. Removed the radiator to have easy access to turn the crank but there s like a grinding noise... Maybe bad news... Need to investigate more.

Monday, April 18, 2011

Battery and Spark plugs

Taking a first look at the engine tonight, took the spark plugs out, I can see the top of piston 4, not looking pretty - black gummy deposit on top. Taking the cam cover will be interesting as someone had the good idea to use glue type gasket.


Sprk plugs are black, maybe a little rich :-)


First I'd like to do is rotate the engine then take compressions. But I am just wondering if the car I have could be a positive earth car. Is that possible ? Can't see anything electrical with clear polarity on it. It would kind of stupid for me start by connecting the battery the wrong way round... How could I confirm this is a negative earth car ?

Saturday, April 16, 2011

Where do I start ?

I had lots ideas the previous nights but now that I look at it in my garage, I have no idea where to start.

Number 1 is definitely getting all the paperwork sorted but after that what shall I do ? Shall I try to get the car running and driving as it is before I start the restoration or is it not worth the bother and go straight to dismantling everything ????

I have a preference for the first option, when I say getting it to run, I mean around the block, this way I'll know as an example that the engine used to run.

By the way check out that piece of art I picked for $10 on the road side on my way back ! With that new tool rebuilding the engine should be easier, if I can actually mount it to the support that is.

Purchased !

I have always been a fan of English cars but now that I live in the US I was browsing through the ads to find a pure muscle and what do I see, a 1967 mk3 spitfire for restoration. I used to own a spitfire 1500 and probably always secretly wished I had a mk3 since the day Craig showed up with a baby blue mk3 in front of my house...

Went to see the car a first and the owner is a really nice man that just doesn't have time to work on all his projects. Fine I'll take that one of your hands ! Second trip with the money and a trailer and ride the baby home. 


Now it's in my garage I realize how small the car is, it's great I'll have lots of space to move around. It looks so easy compared to previous cars, can't wait to work on it, but I know it wont be as easy at it looks


A view of the inside below, the seats are in incredibly good condition, they have probably been redone at some stage


Other side of the engine, sorry for the poor photo with flash but that one is interesting, we can see the original color of the car : Triumph royal blue. Love that color and it will look stunning once restored to original.